Second Attempt
My second attempt was not as successful, I liked the flavor better, but something was off and with so many variations it’s almost impossible to tell where. This is one reason why I made my plea to America’s Test Kitchen for “Help!”.
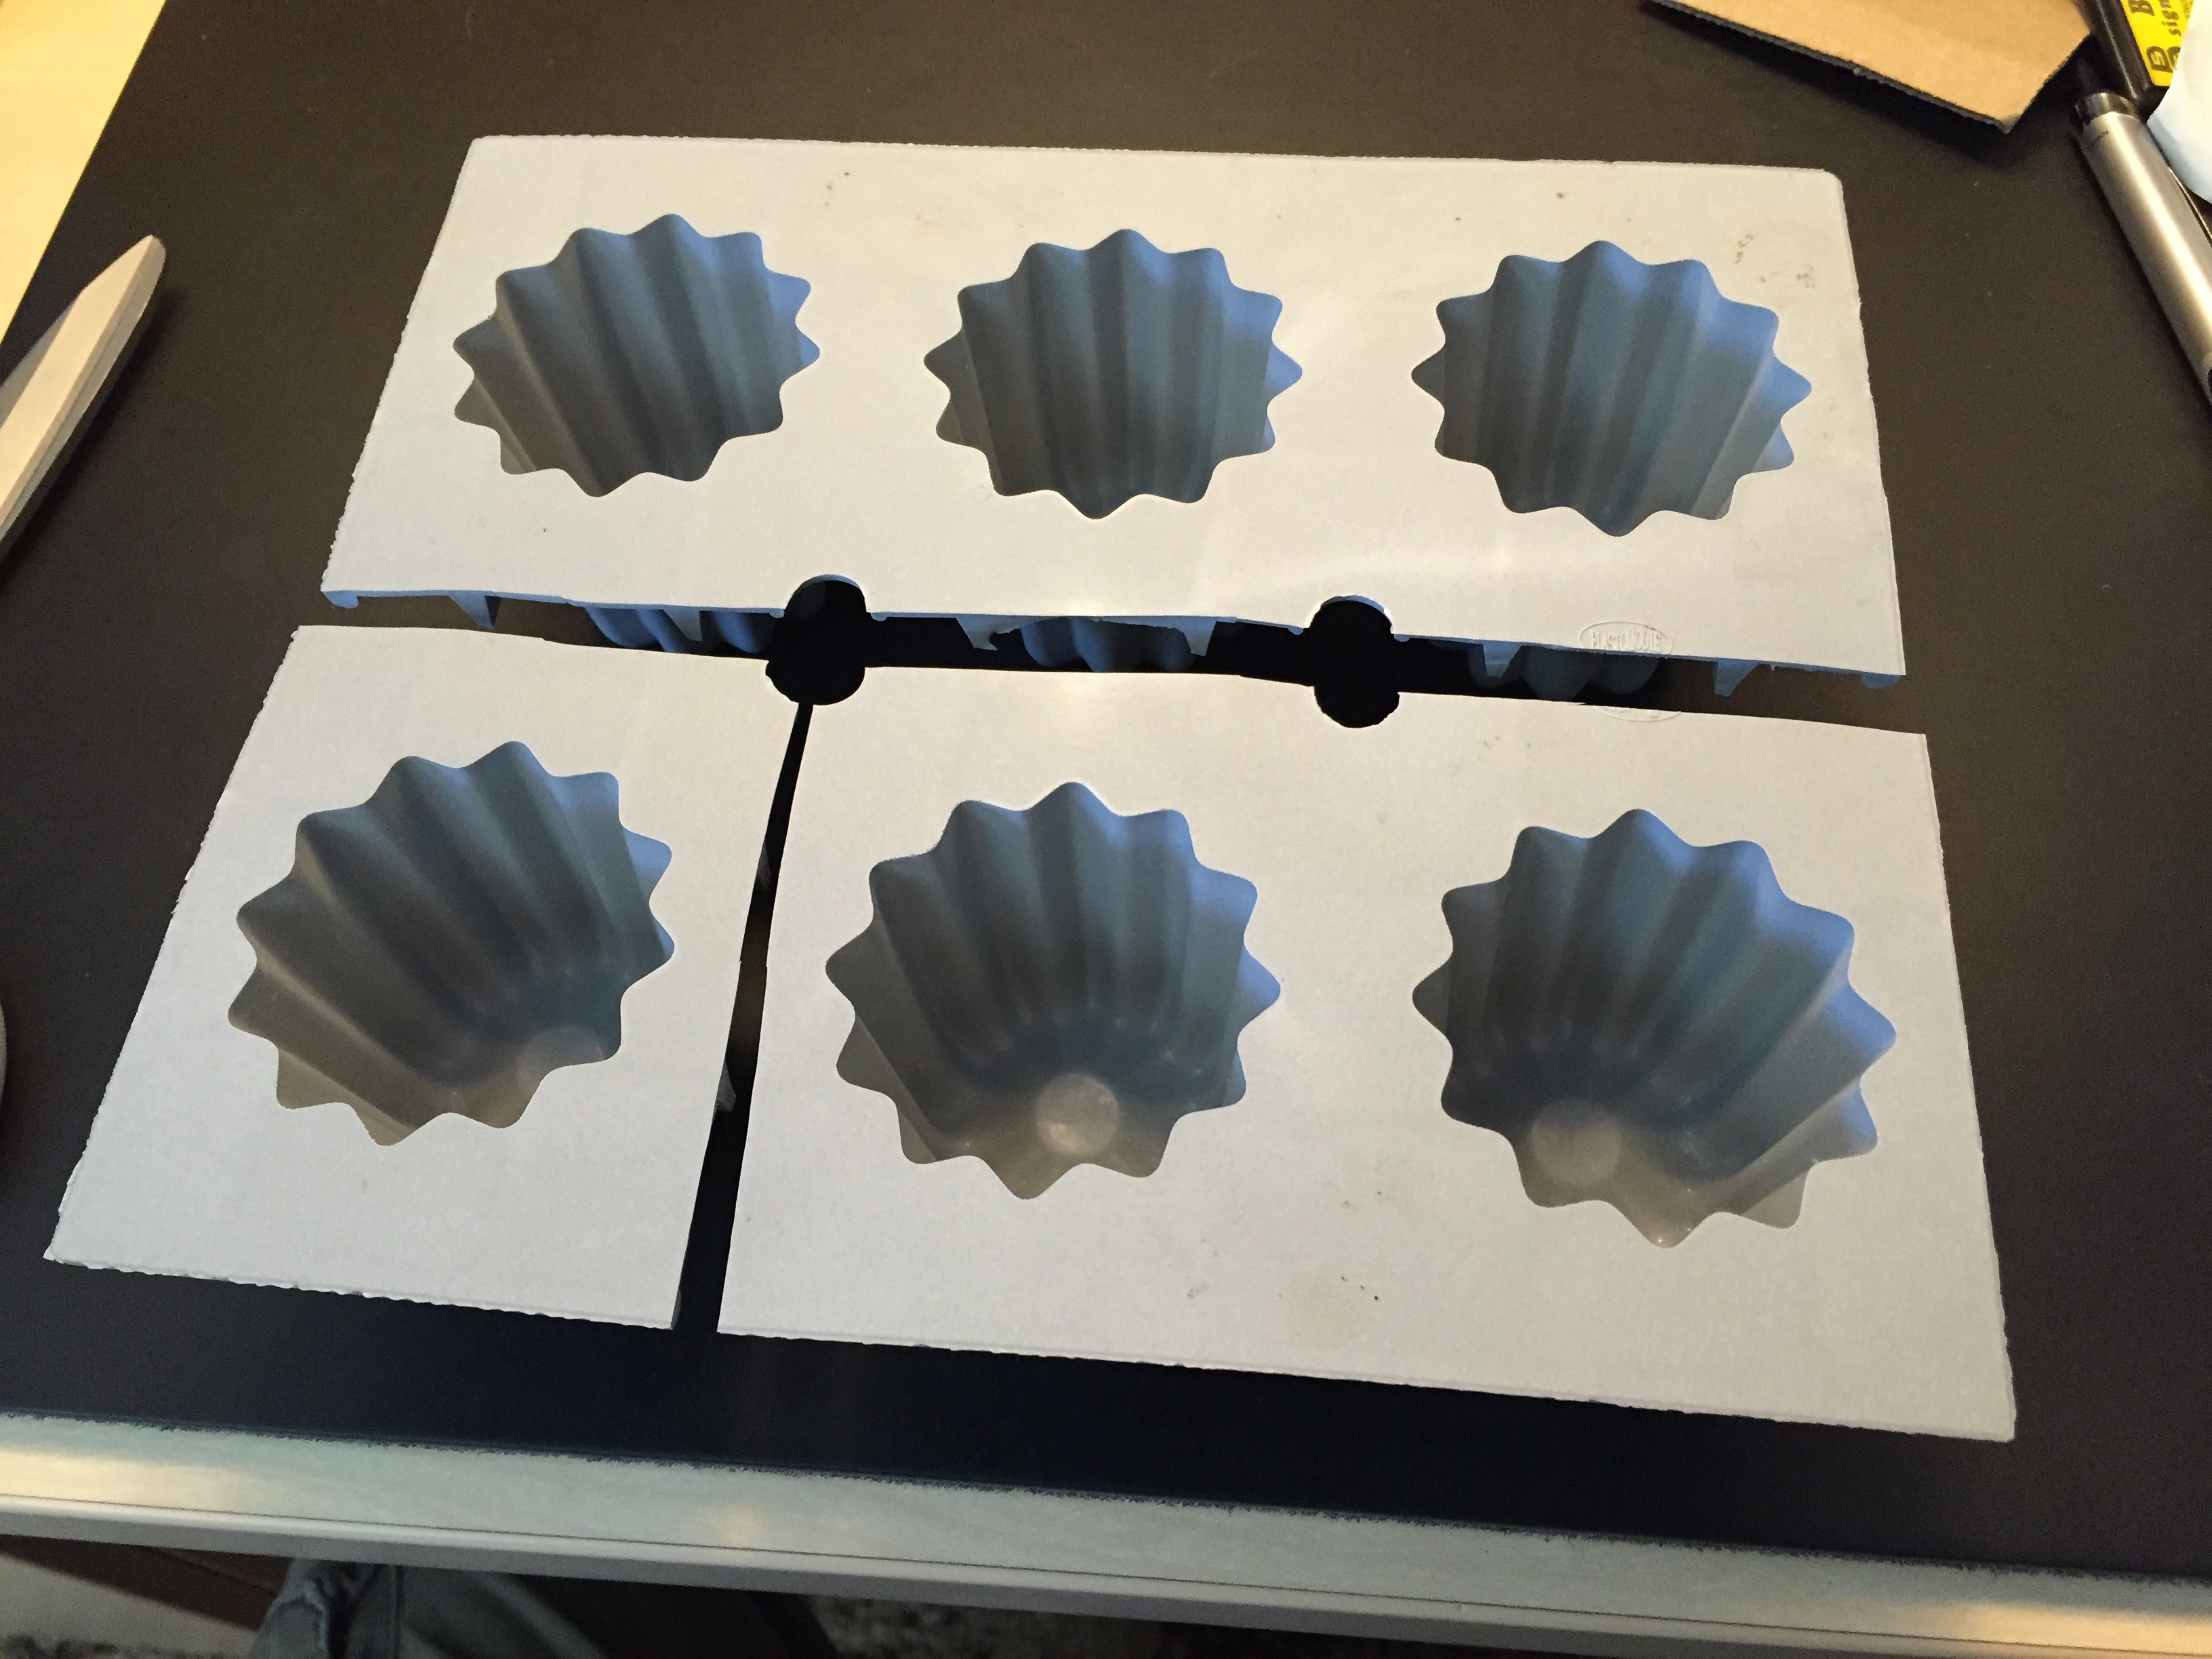
The second time I cut apart the molds. It started as one piece and this is the first cut.
Then into six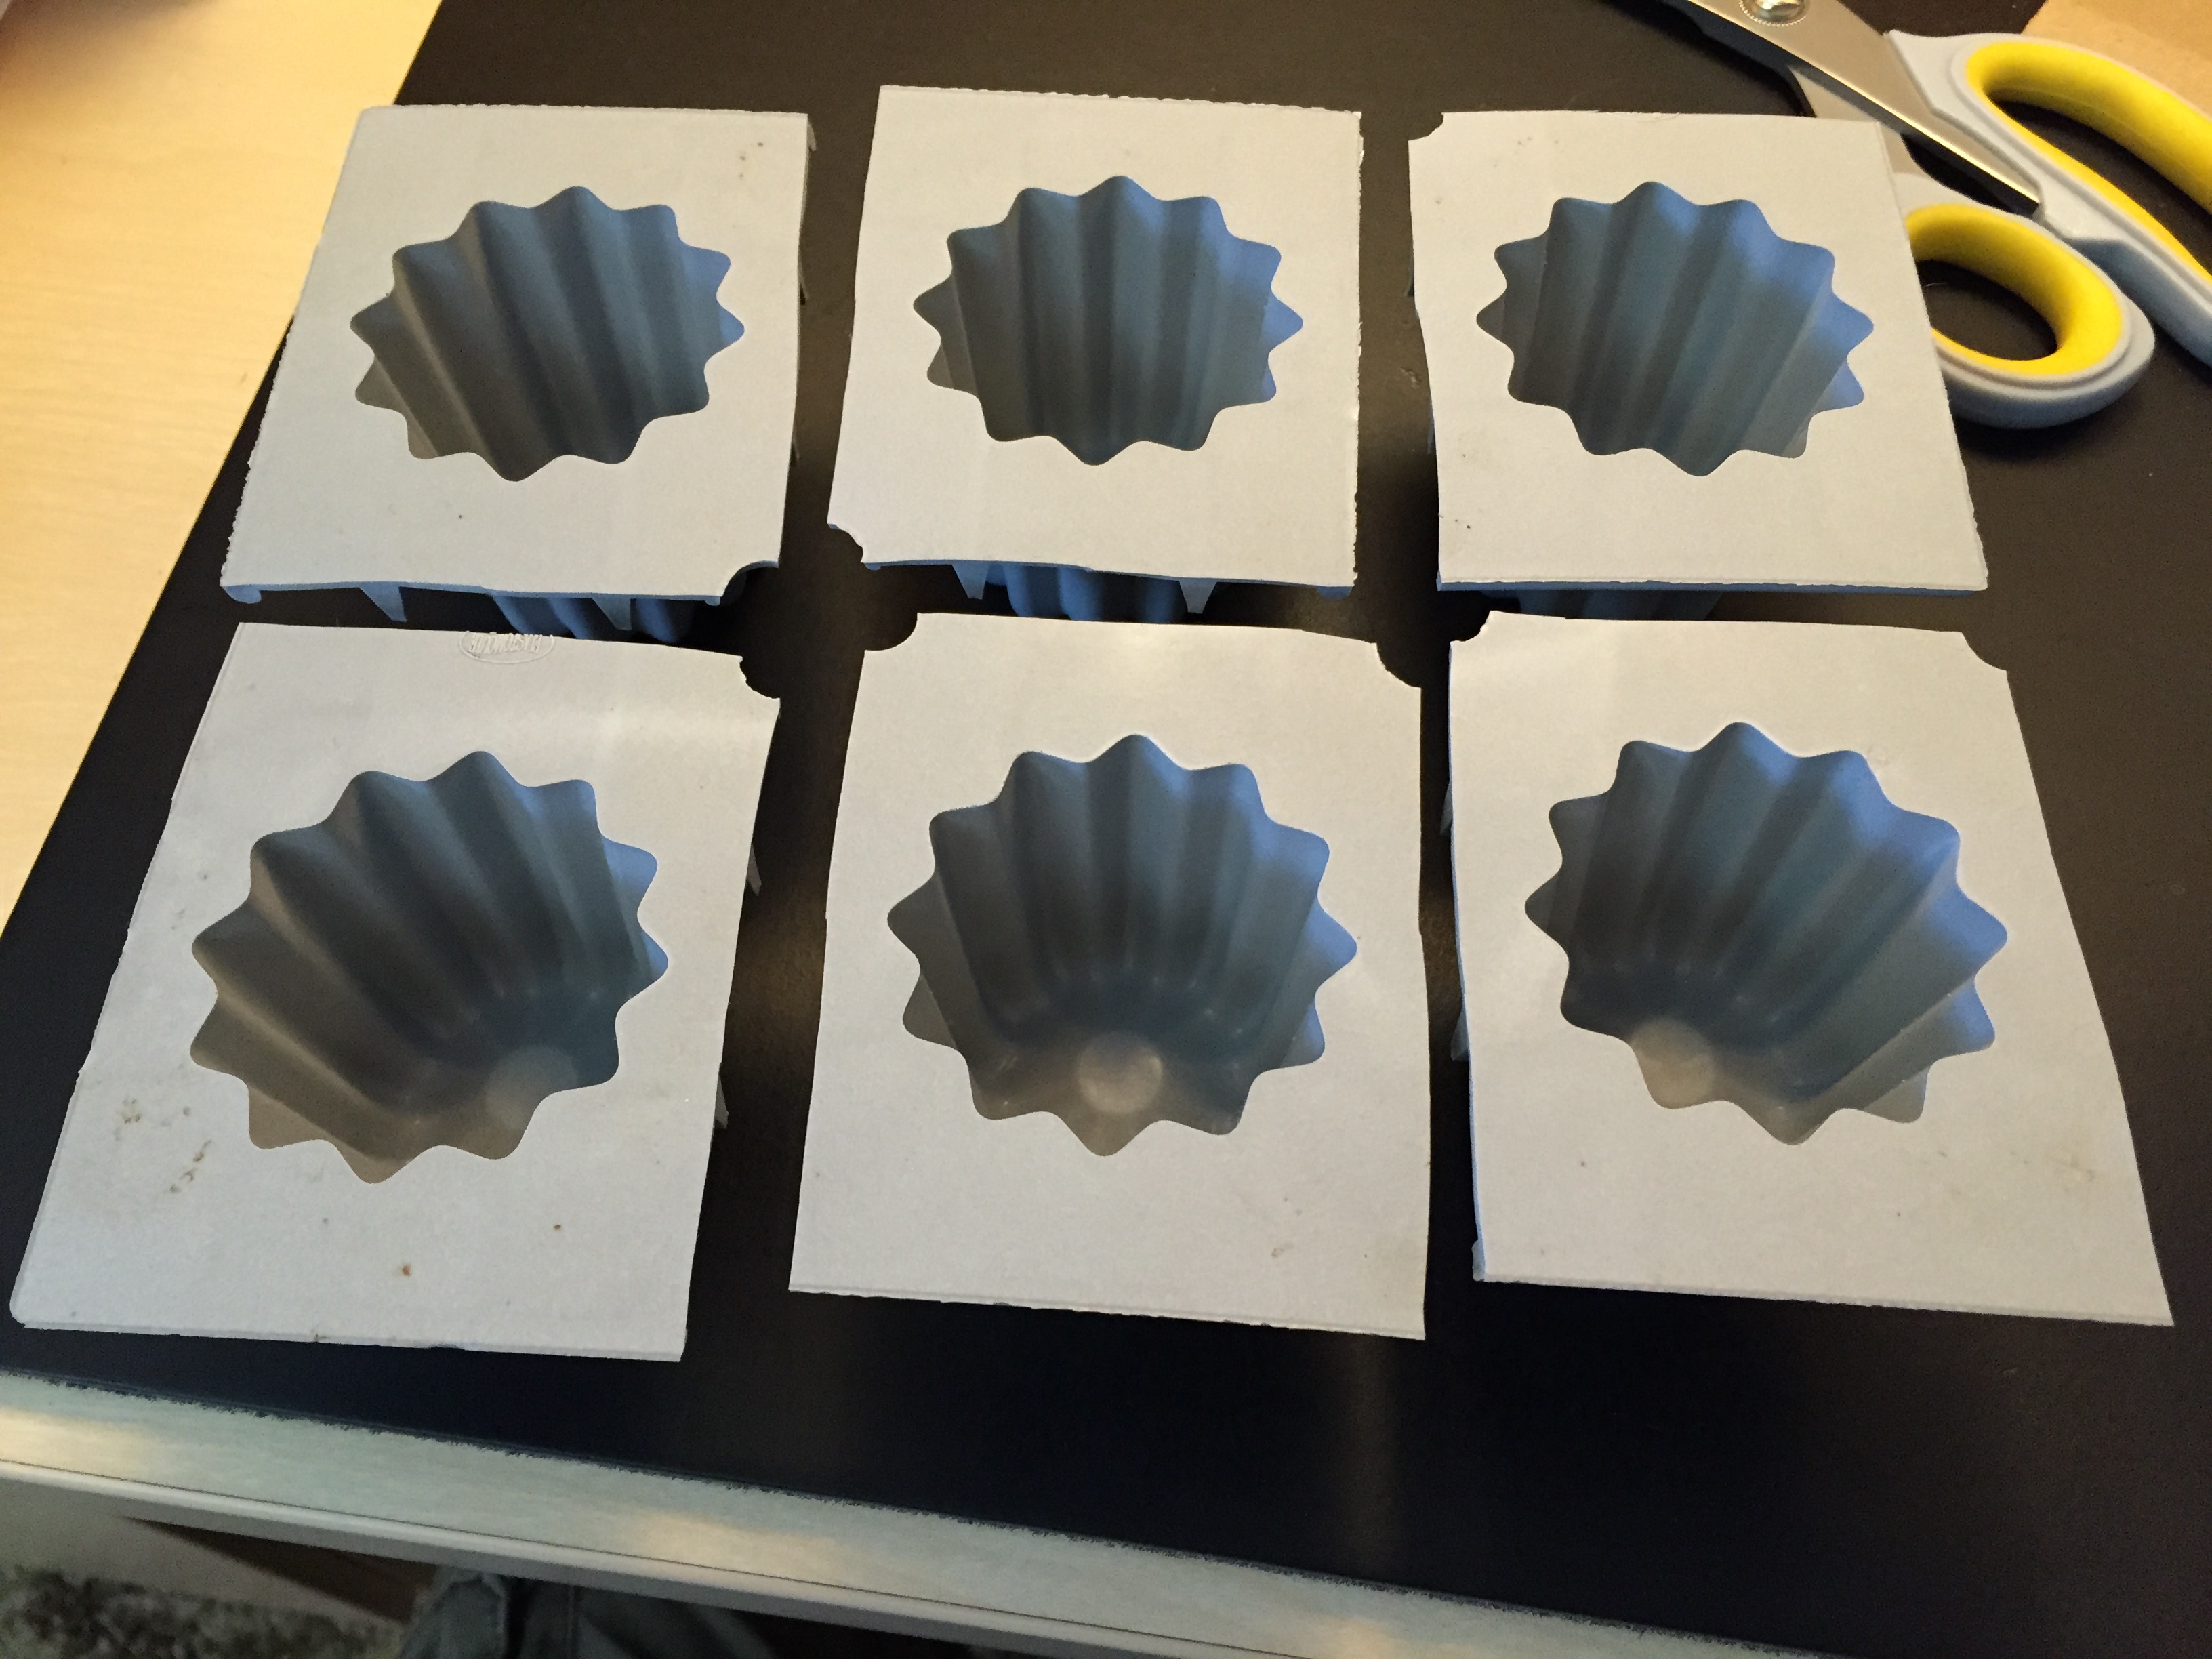
I used a glass as a template and used a permanent fine point sharpie to draw a circle around each mold. Not much sticks to the silicone. I tried wax pencil, pen, and pencil. Only permanent marker worked, and it was easy to rub off when I was done!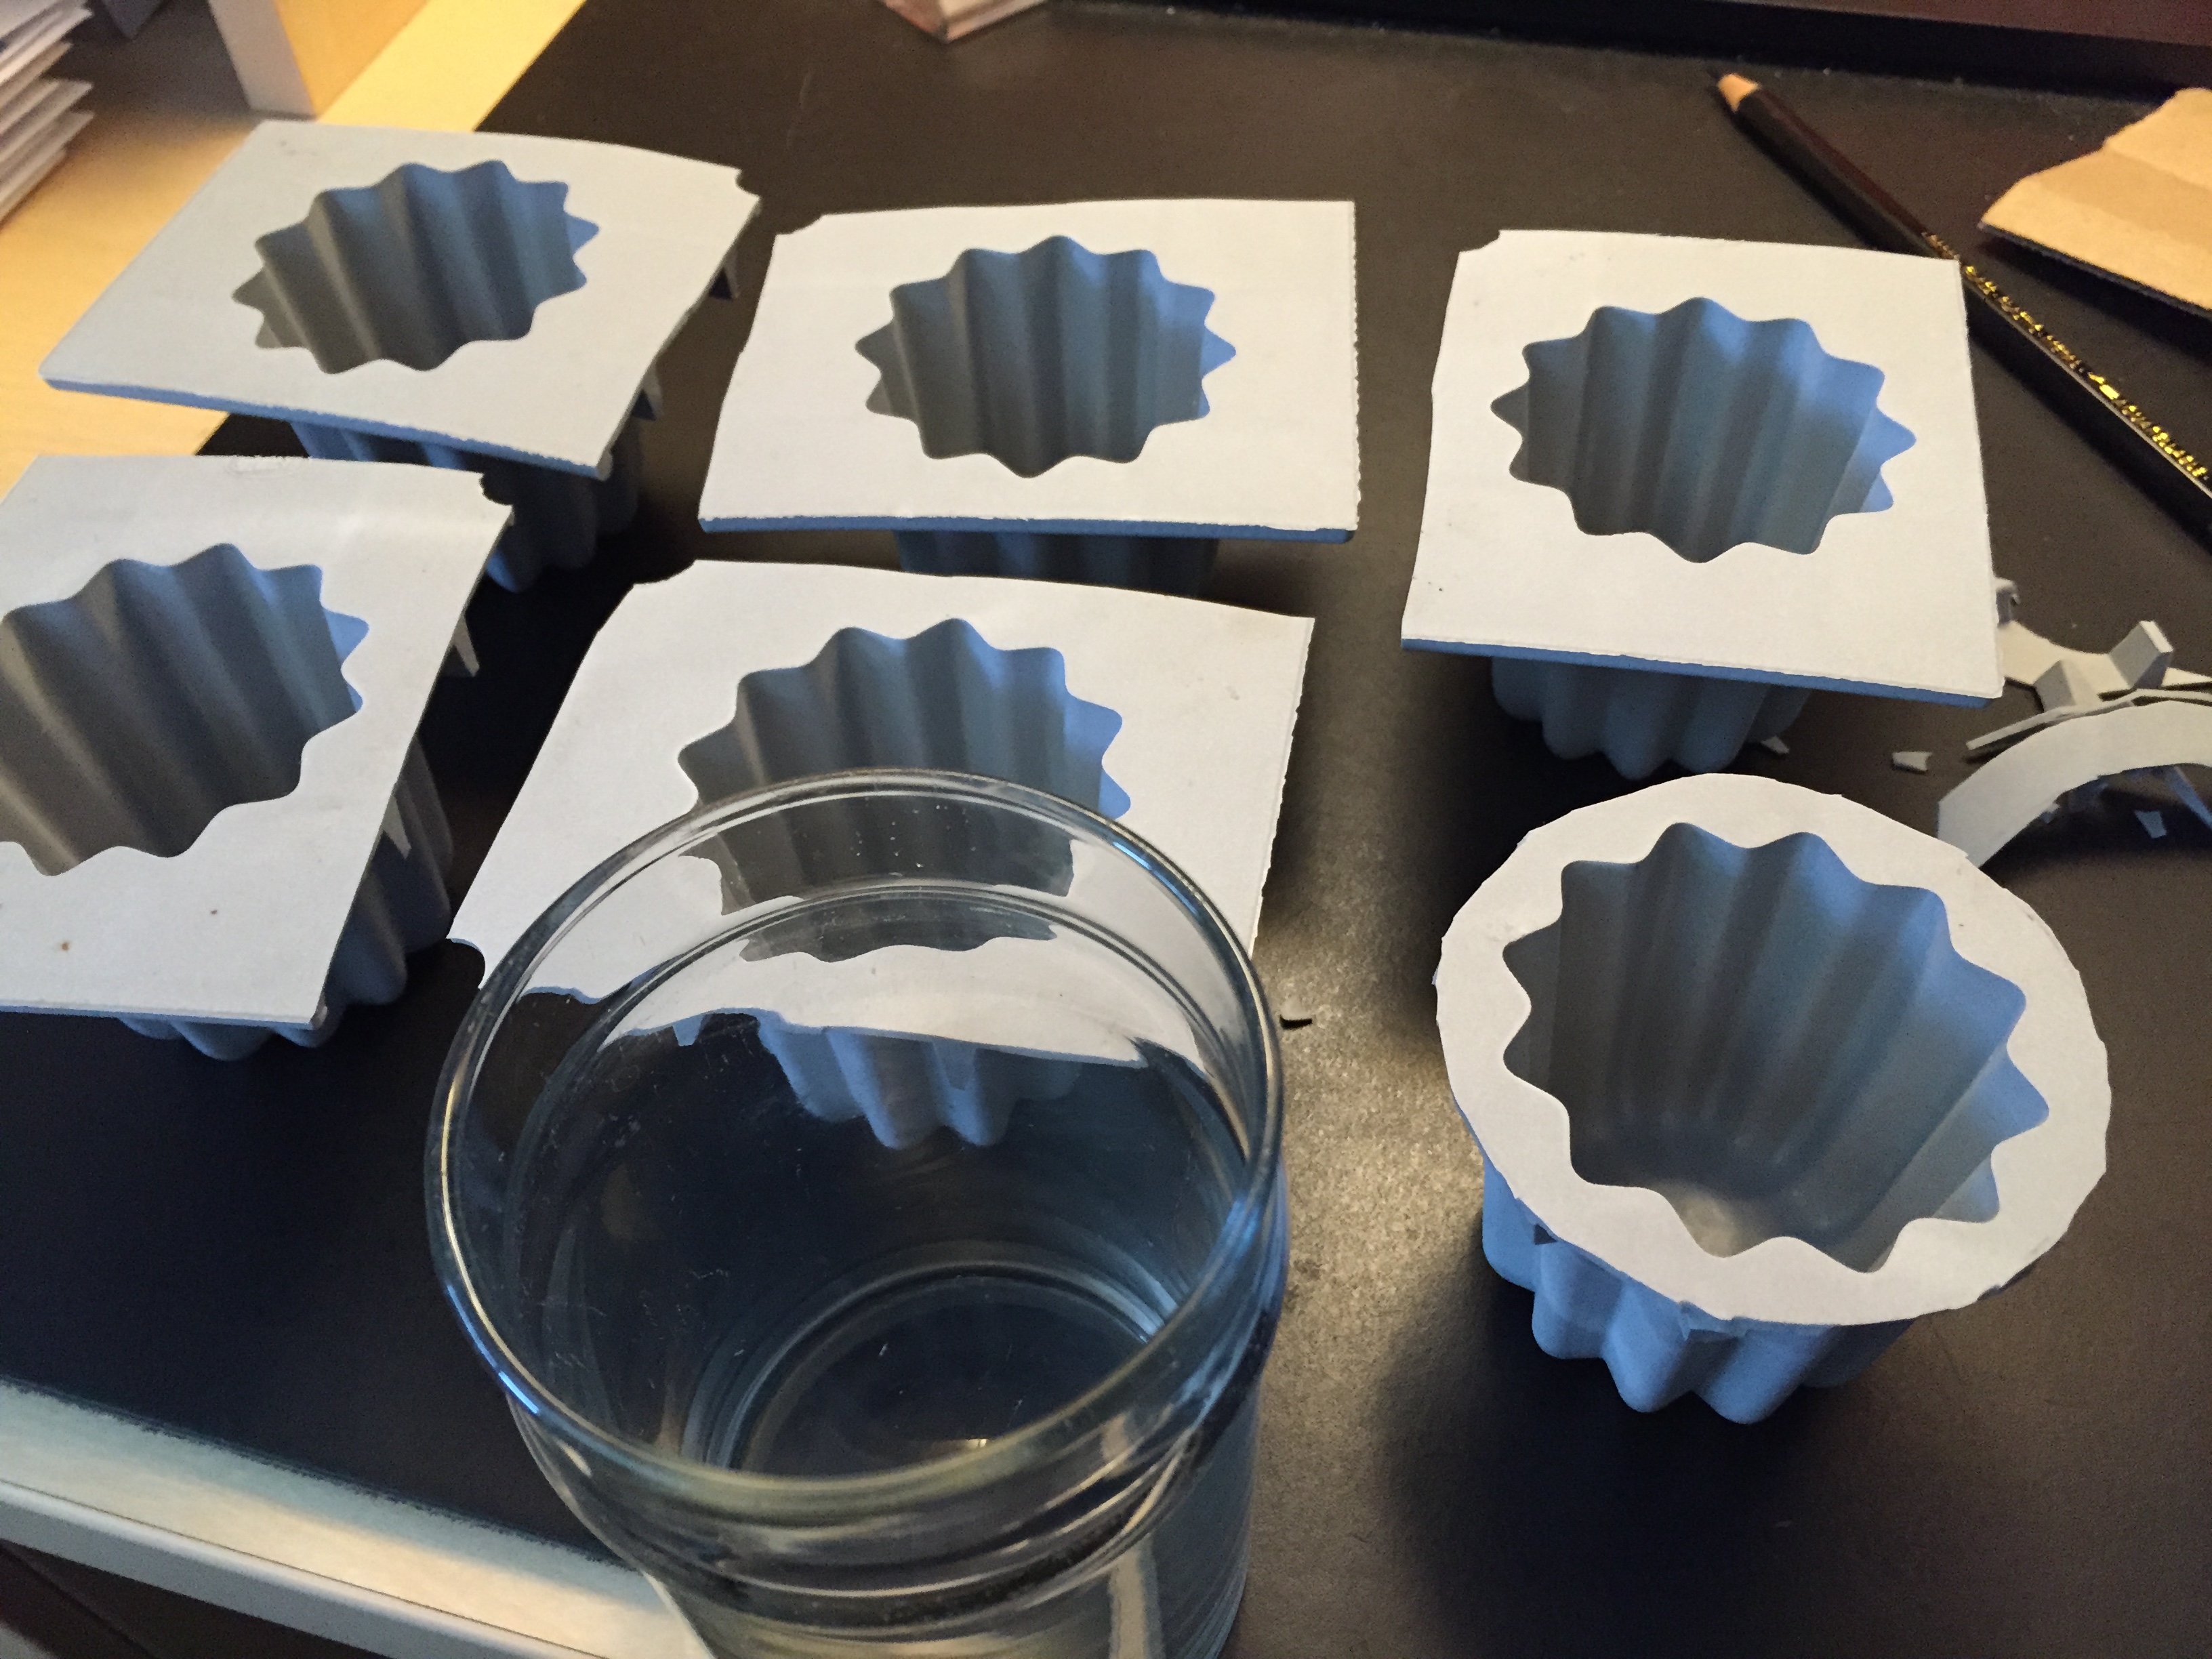
Here is the final product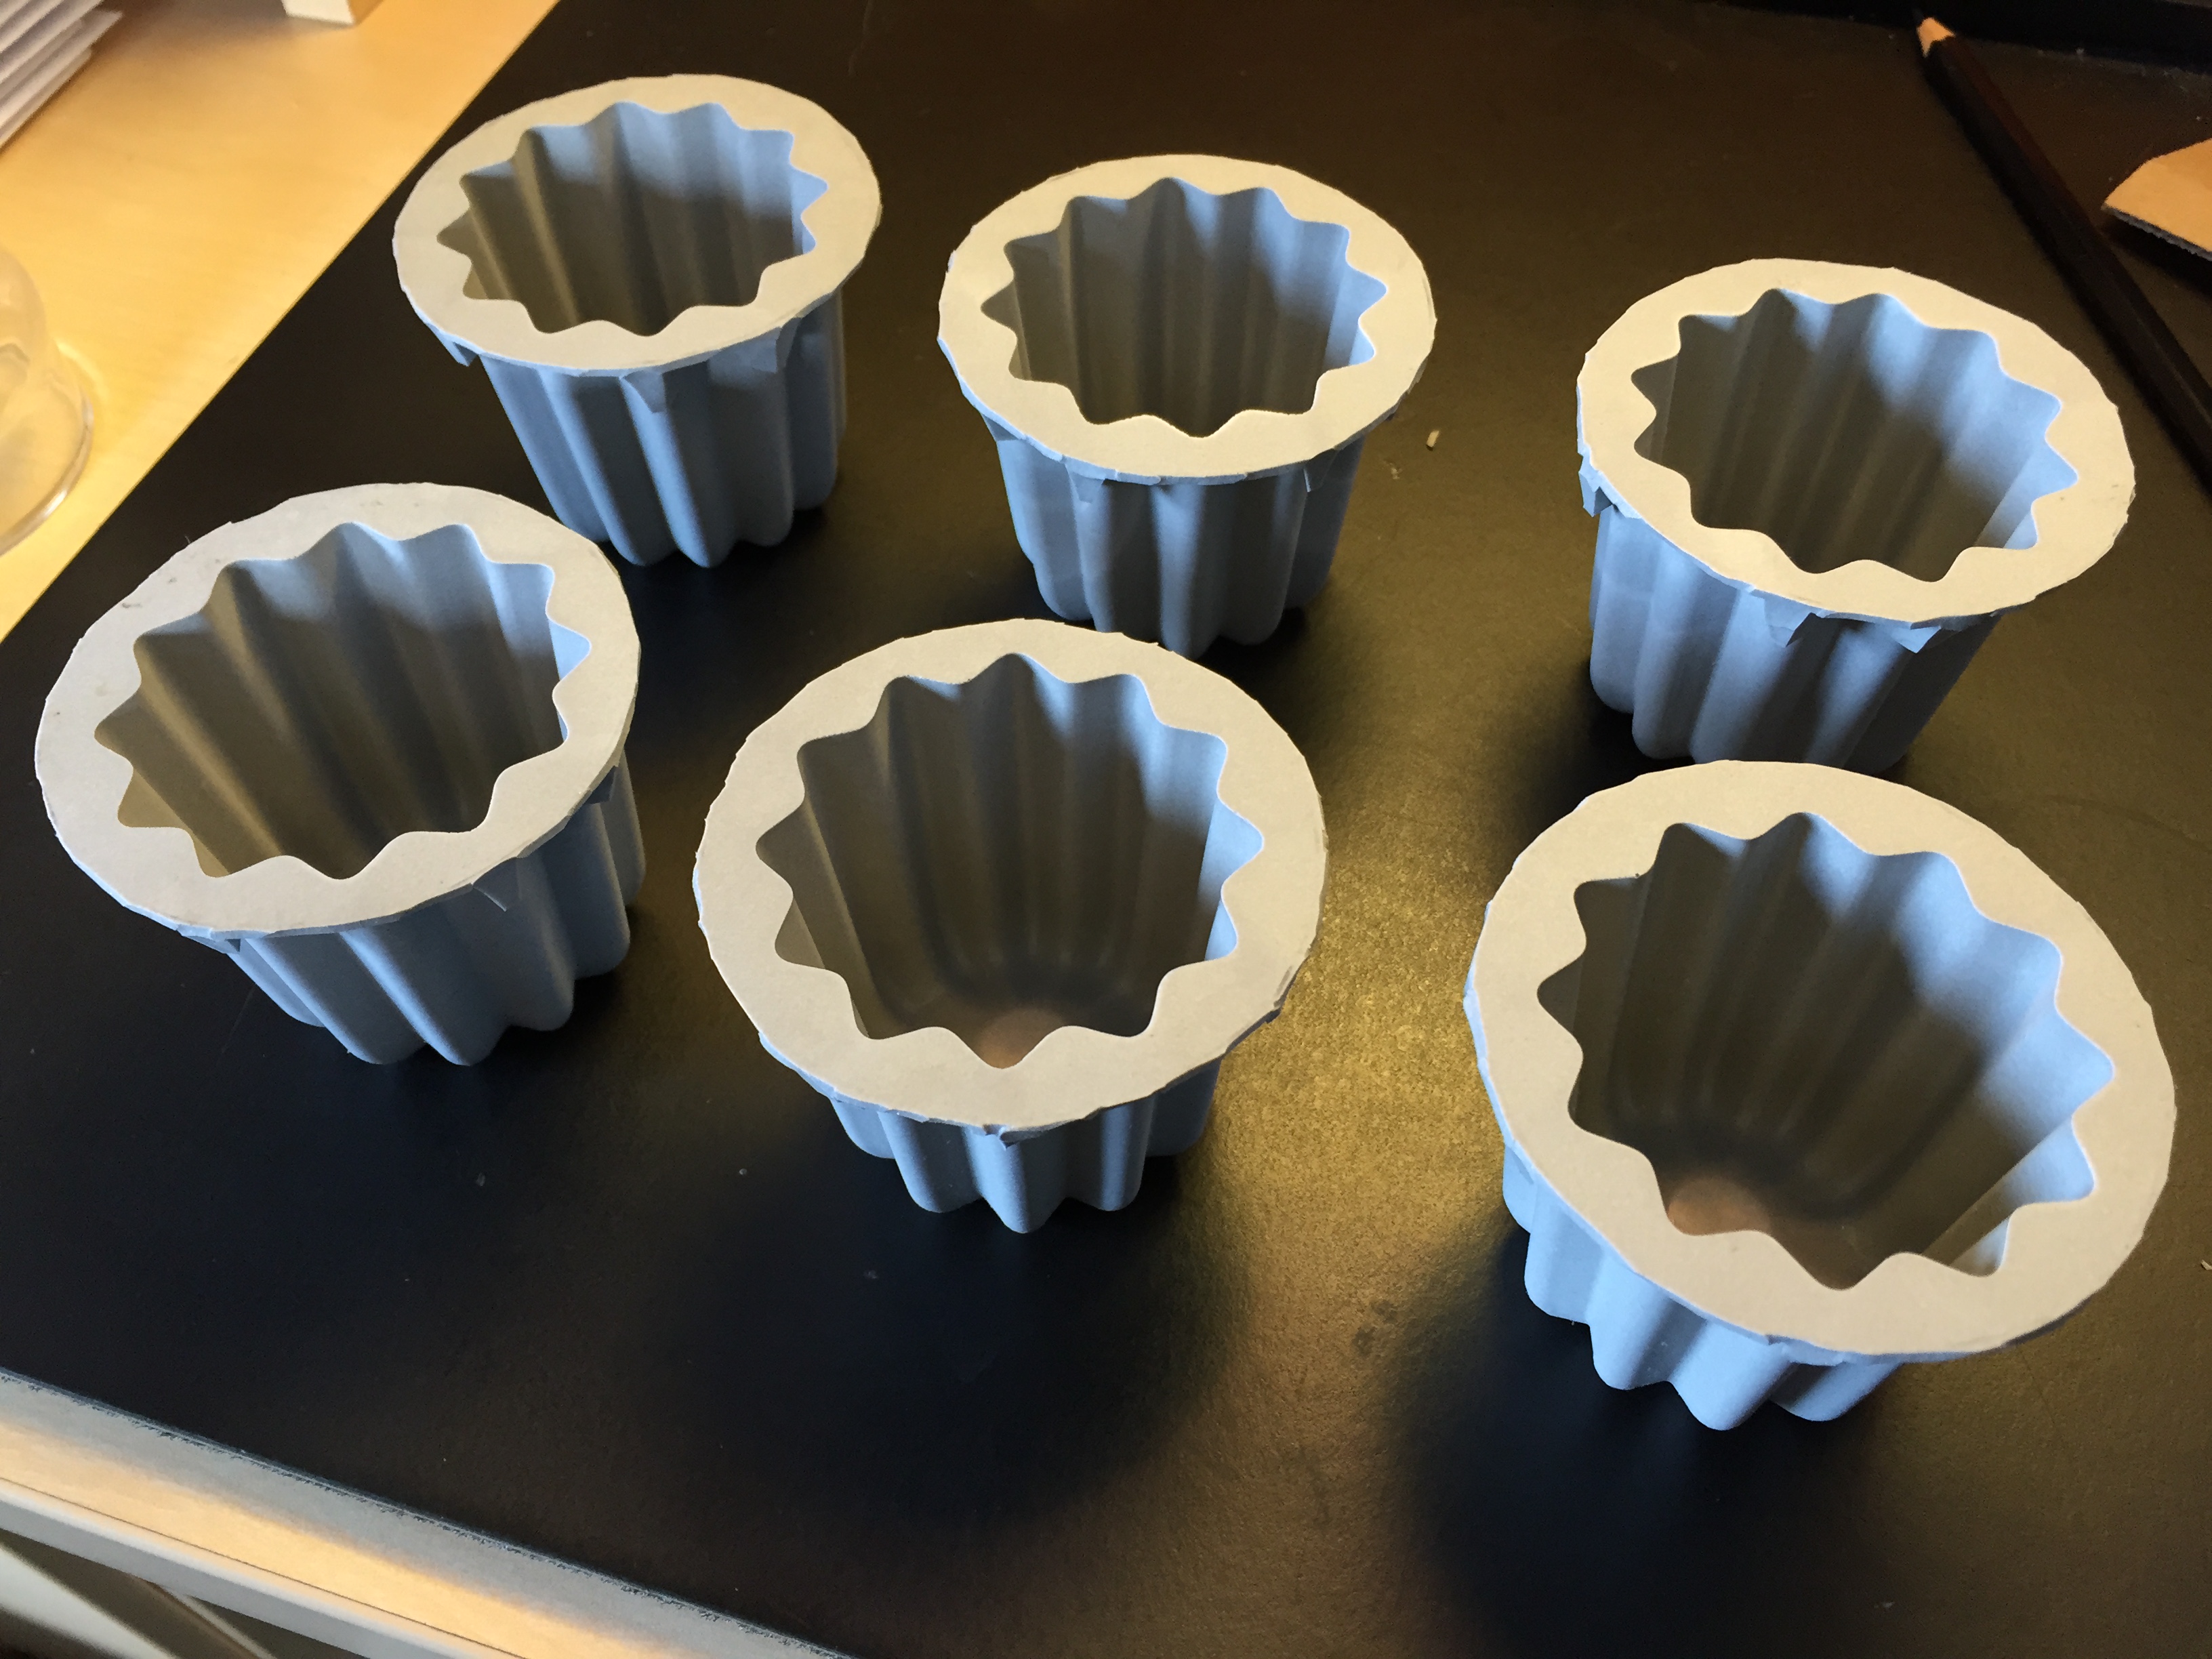
Turns out they stack nicely
I find individual molds are much easier to bake with and clean.
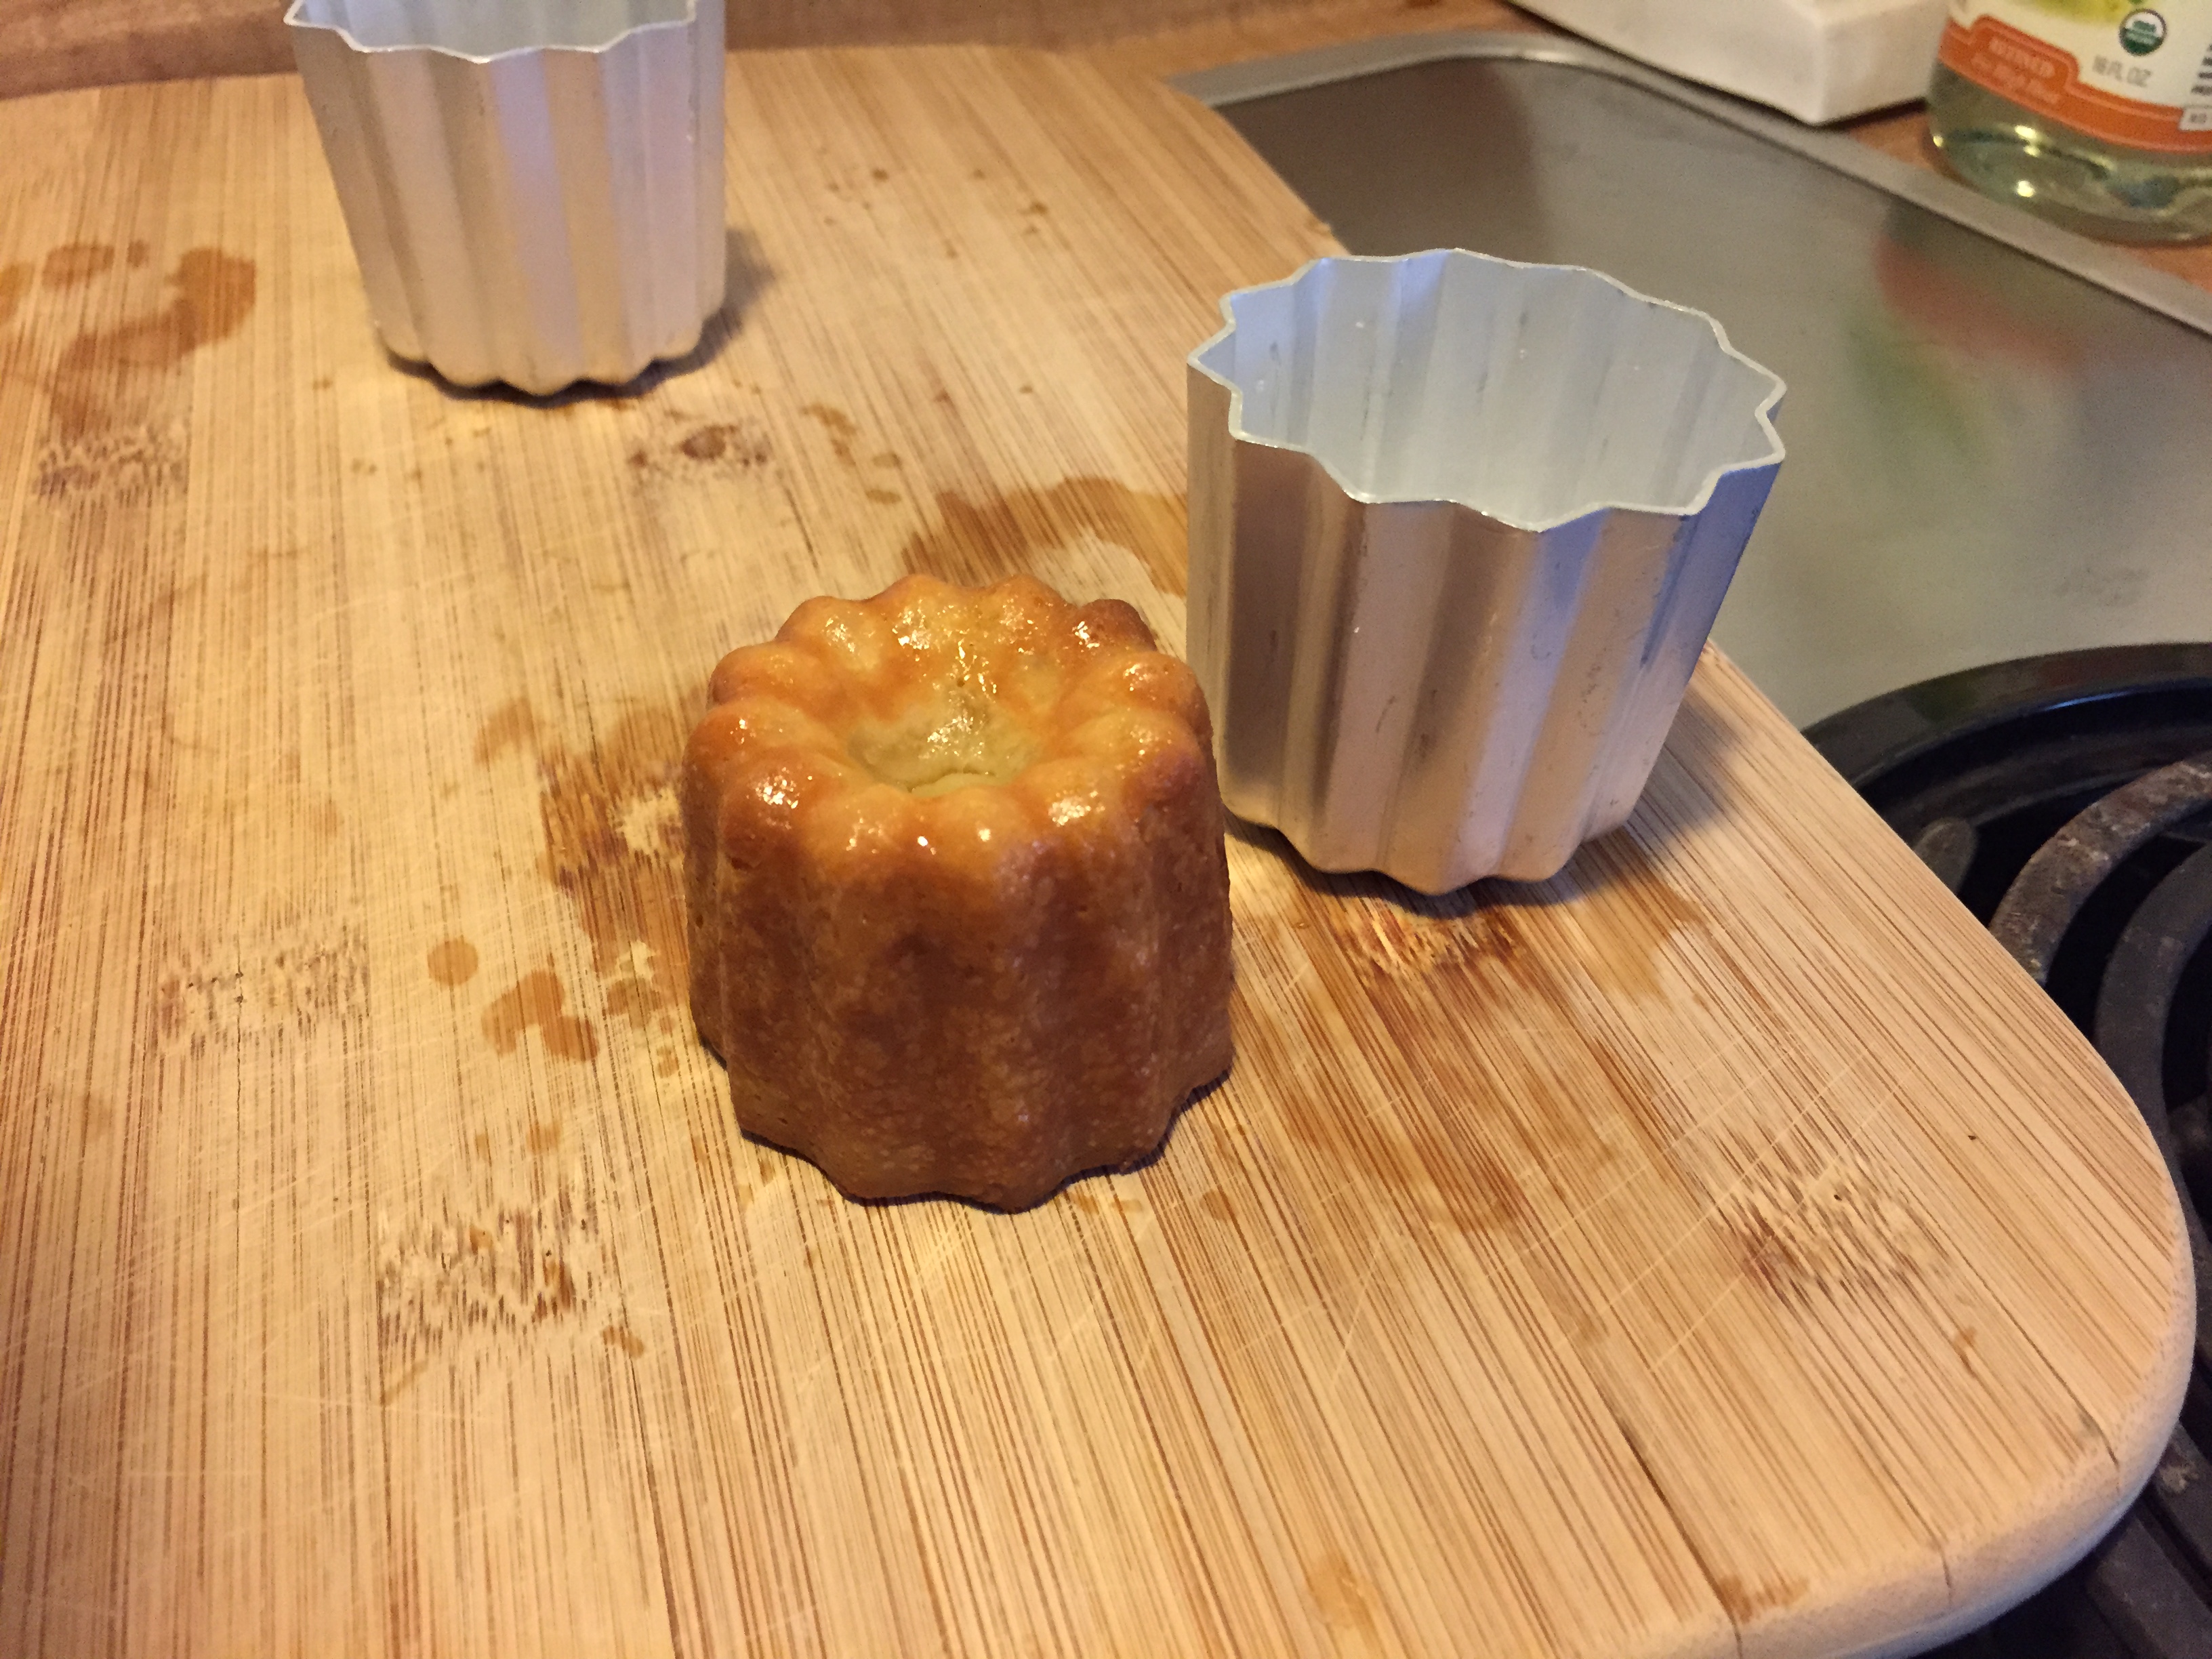
This time I tried the recipe from here. I modified it for half, figuring this was easiest and I would have some left over. I also added two aluminum molds. I was curious how they would cook, and it was strikingly different. I didn’t listen to the recommendation in this recipe to let the batter rest 48 hours and instead let it rest only 18 hours. This was the same amount of time of rest from the first batch (which didn’t raise out of the molds). For this recipe it was a mistake. The canele raised out of the molds and it became a game of hot potato pulling each one out of the oven. I had to take them out several times or risk them flopping out of the mold, my biggest fear! I believe this happened because this recipe uses egg white in the batter. Last time I only used egg yolks and didn’t have this problem. I think I over filled the molds this time too. Filling the mold 1/4″ from the top. Next till I will fill them 1/2″ from the top.
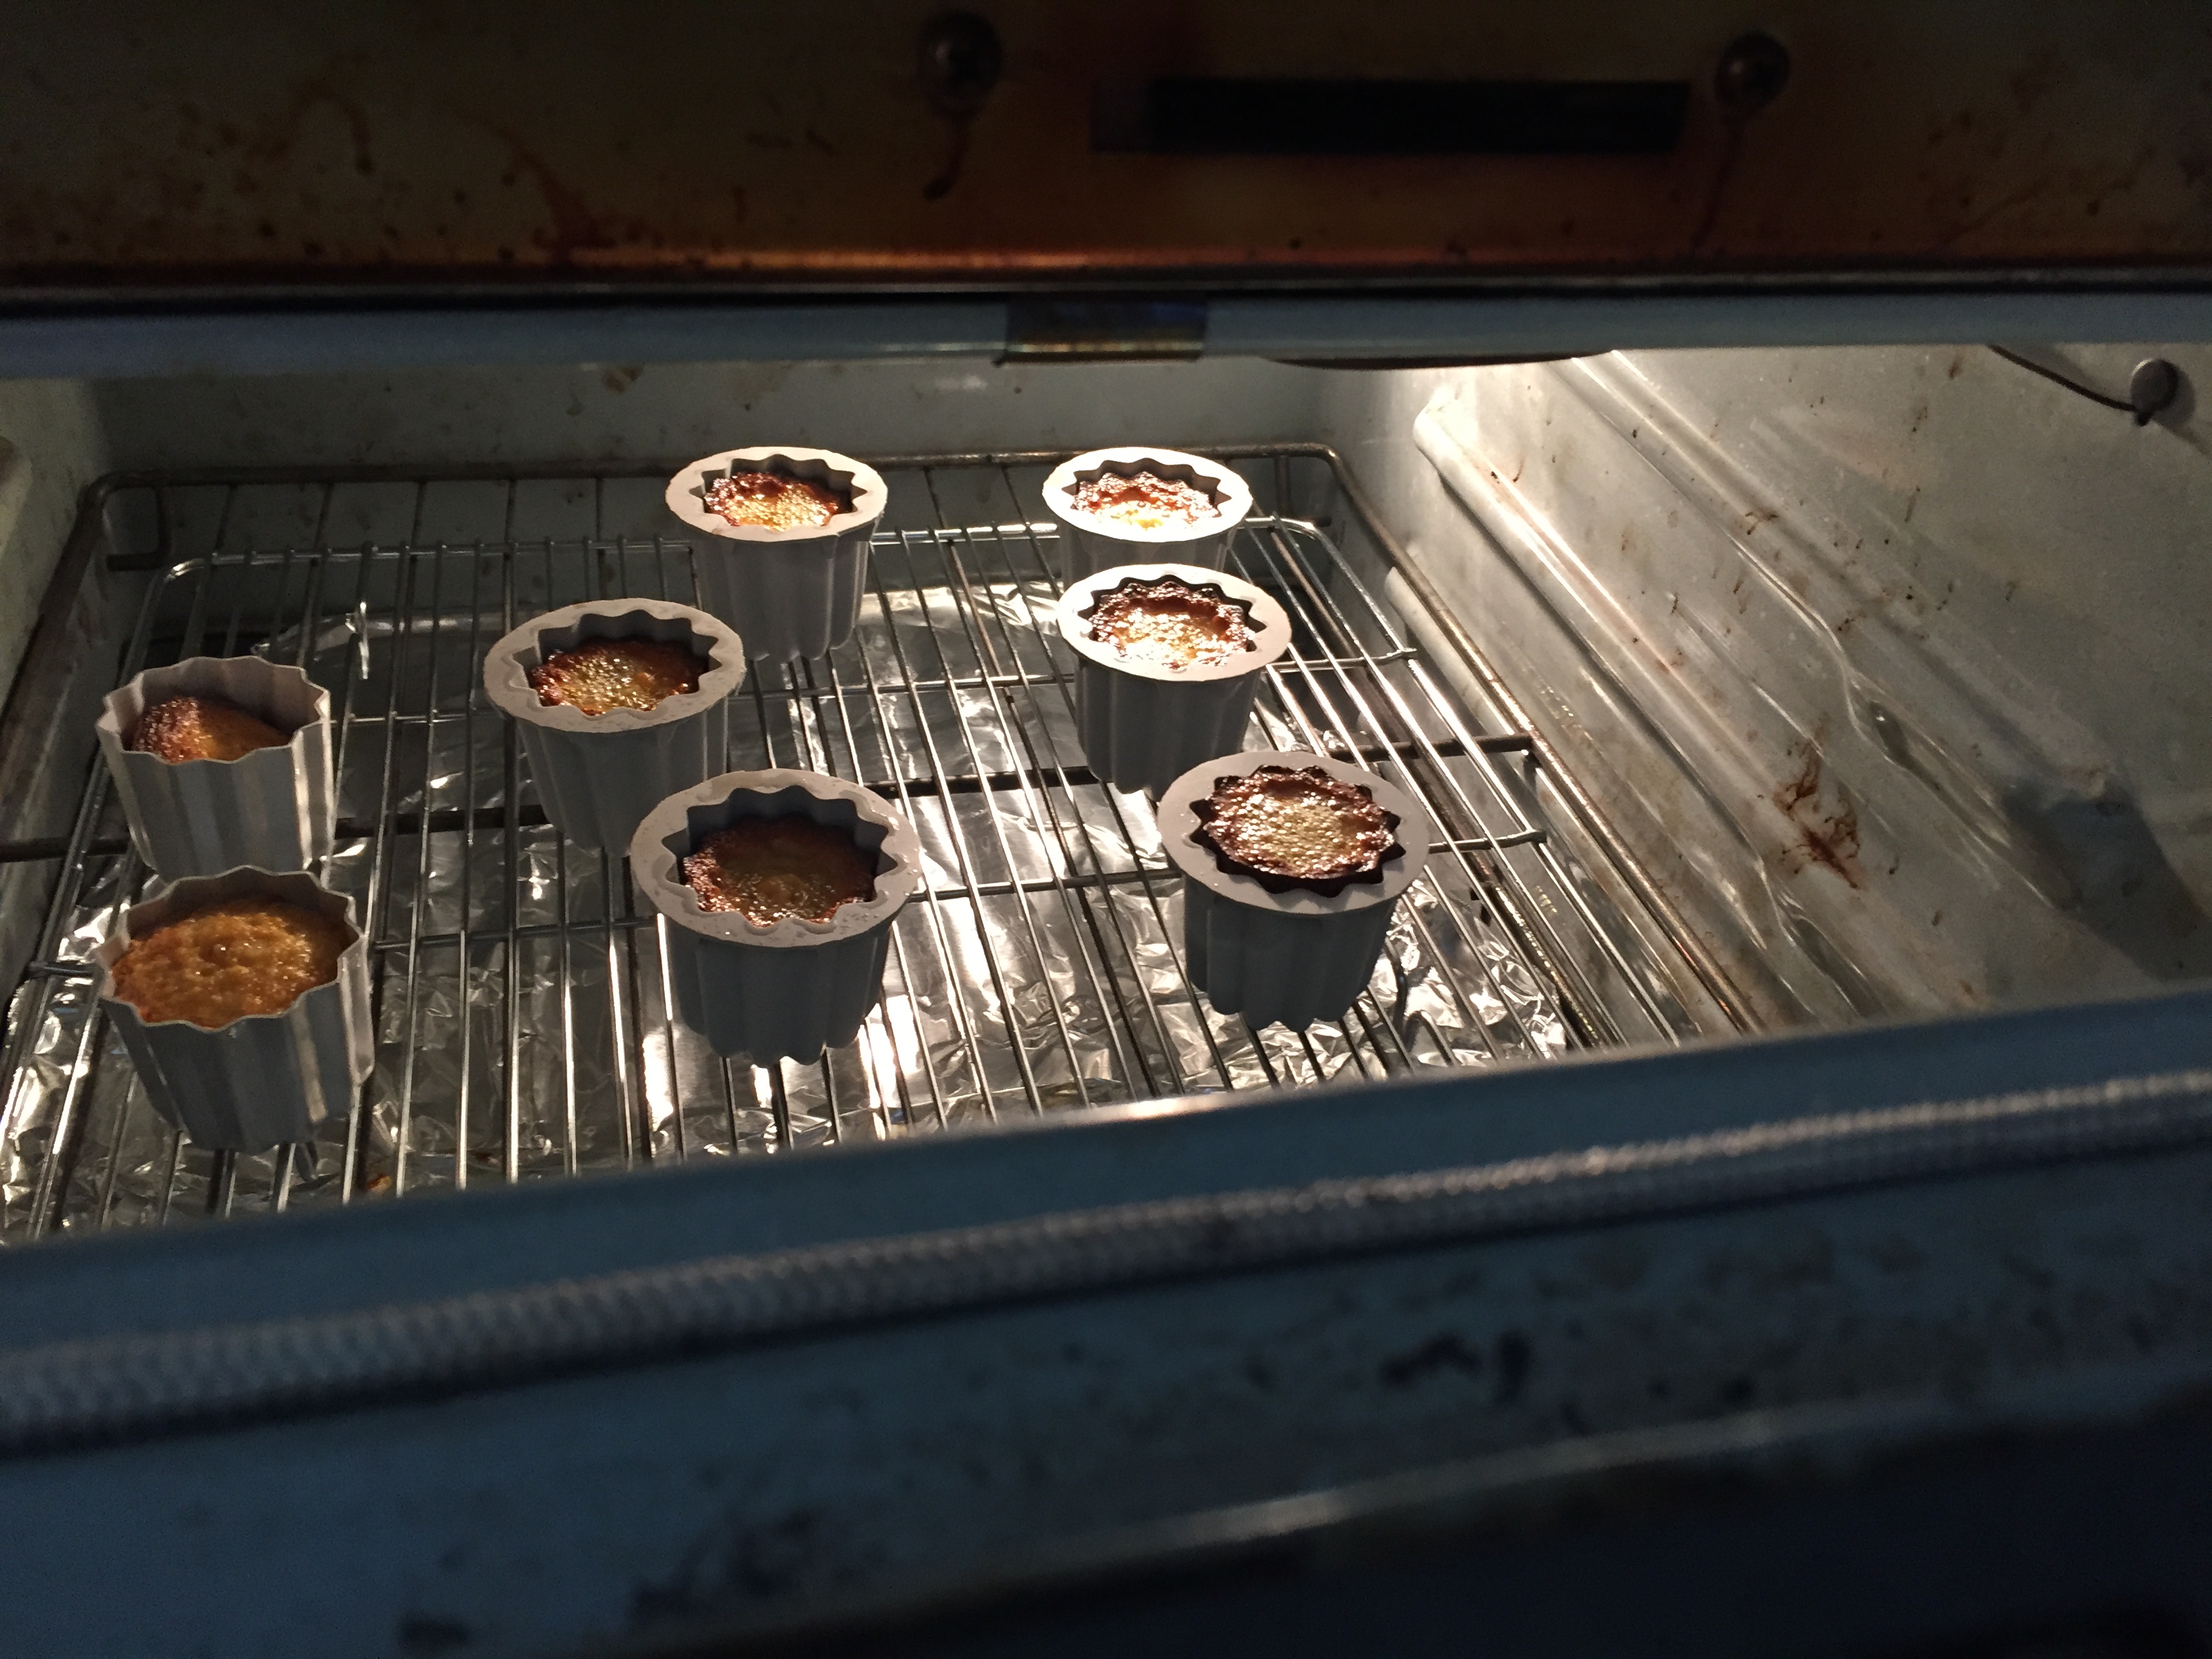
This is what they looked like baking. The two aluminum molds are on the left. You can see on the right, one starting to pop out out. Interestingly enough, the aluminum mold produced the correct rounded top that I was after. The silicone molds bake the canele flat or sunken in. The pooling liquid on the top I think was mostly beeswax.
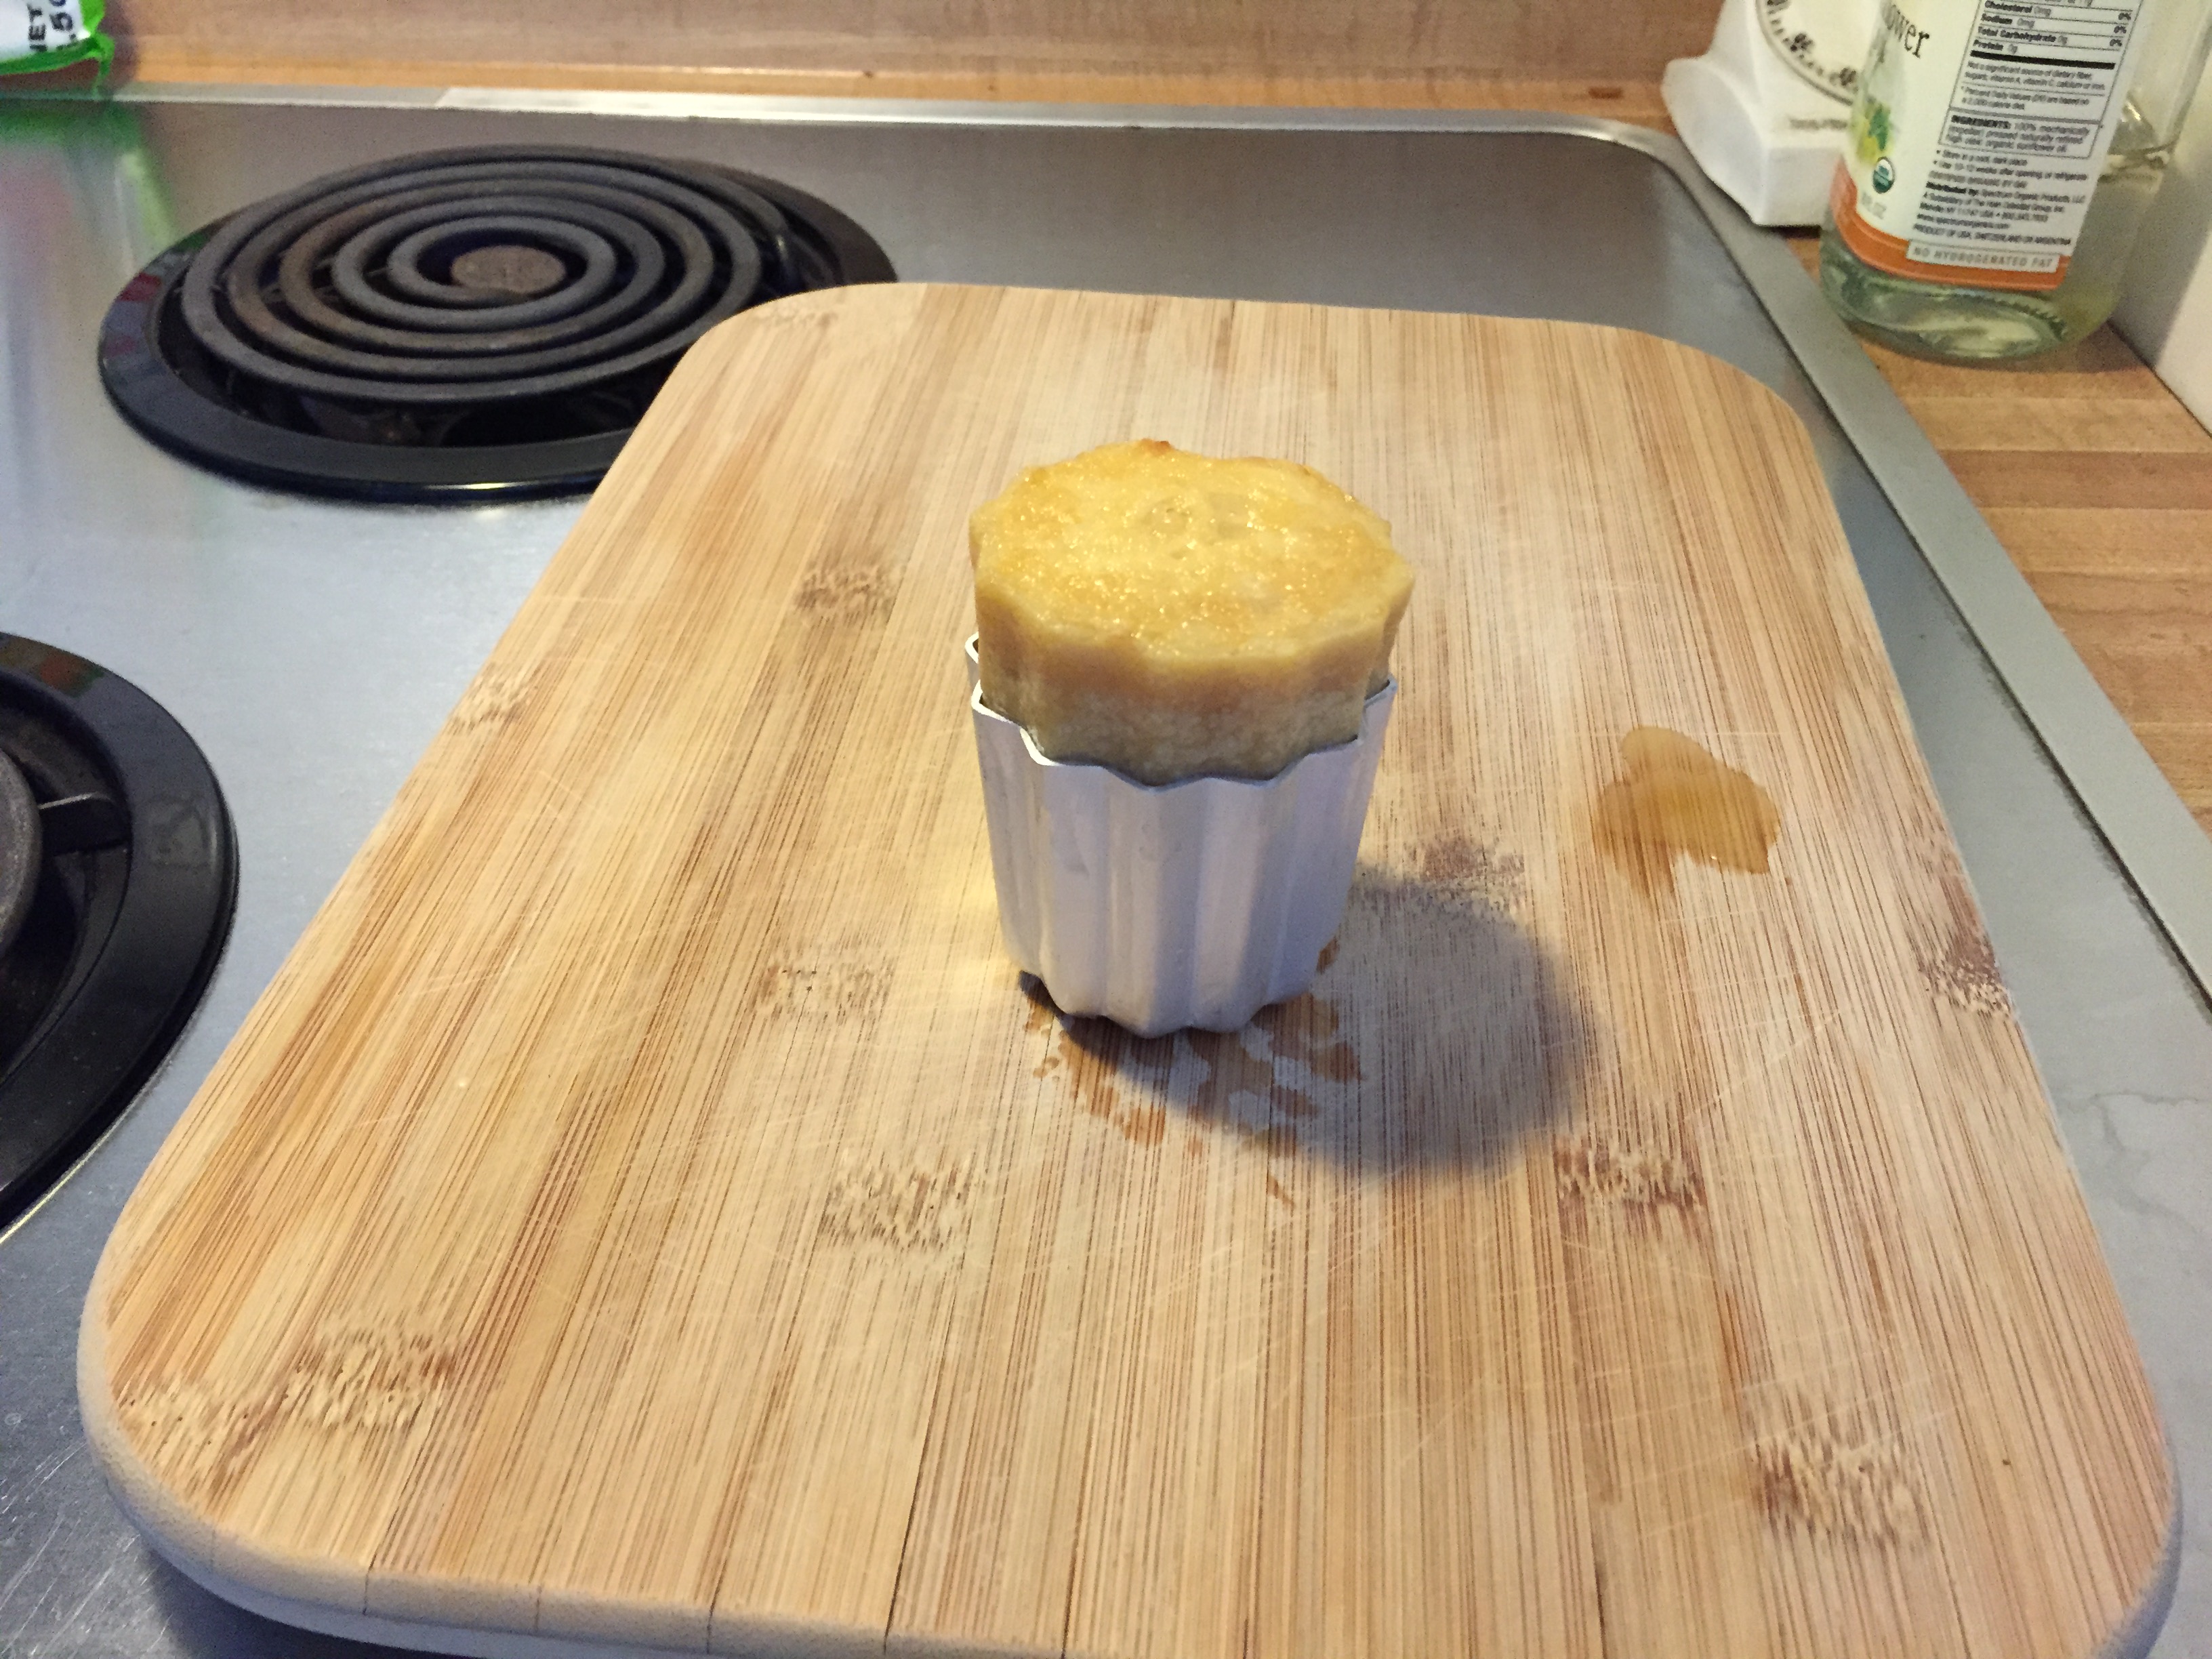
Here I have taken them out for a rest in the middle of baking (not what I wanted or planned on). You can see the ones in the back are starting to go back down. The ones in the front were taken out later and were still up over the mold

For some reason the canele popped out of the aluminum molds much more then the copper, but they never developed the caramelized outer skin.
This is interesting, This was the best one. I ran out of batter on this batch and only filled this one halfway full. 
Below is my first one out of the silicon, good color but the bottom was convex and the inside was more of a solid custard then the lighter airy custard I wanted.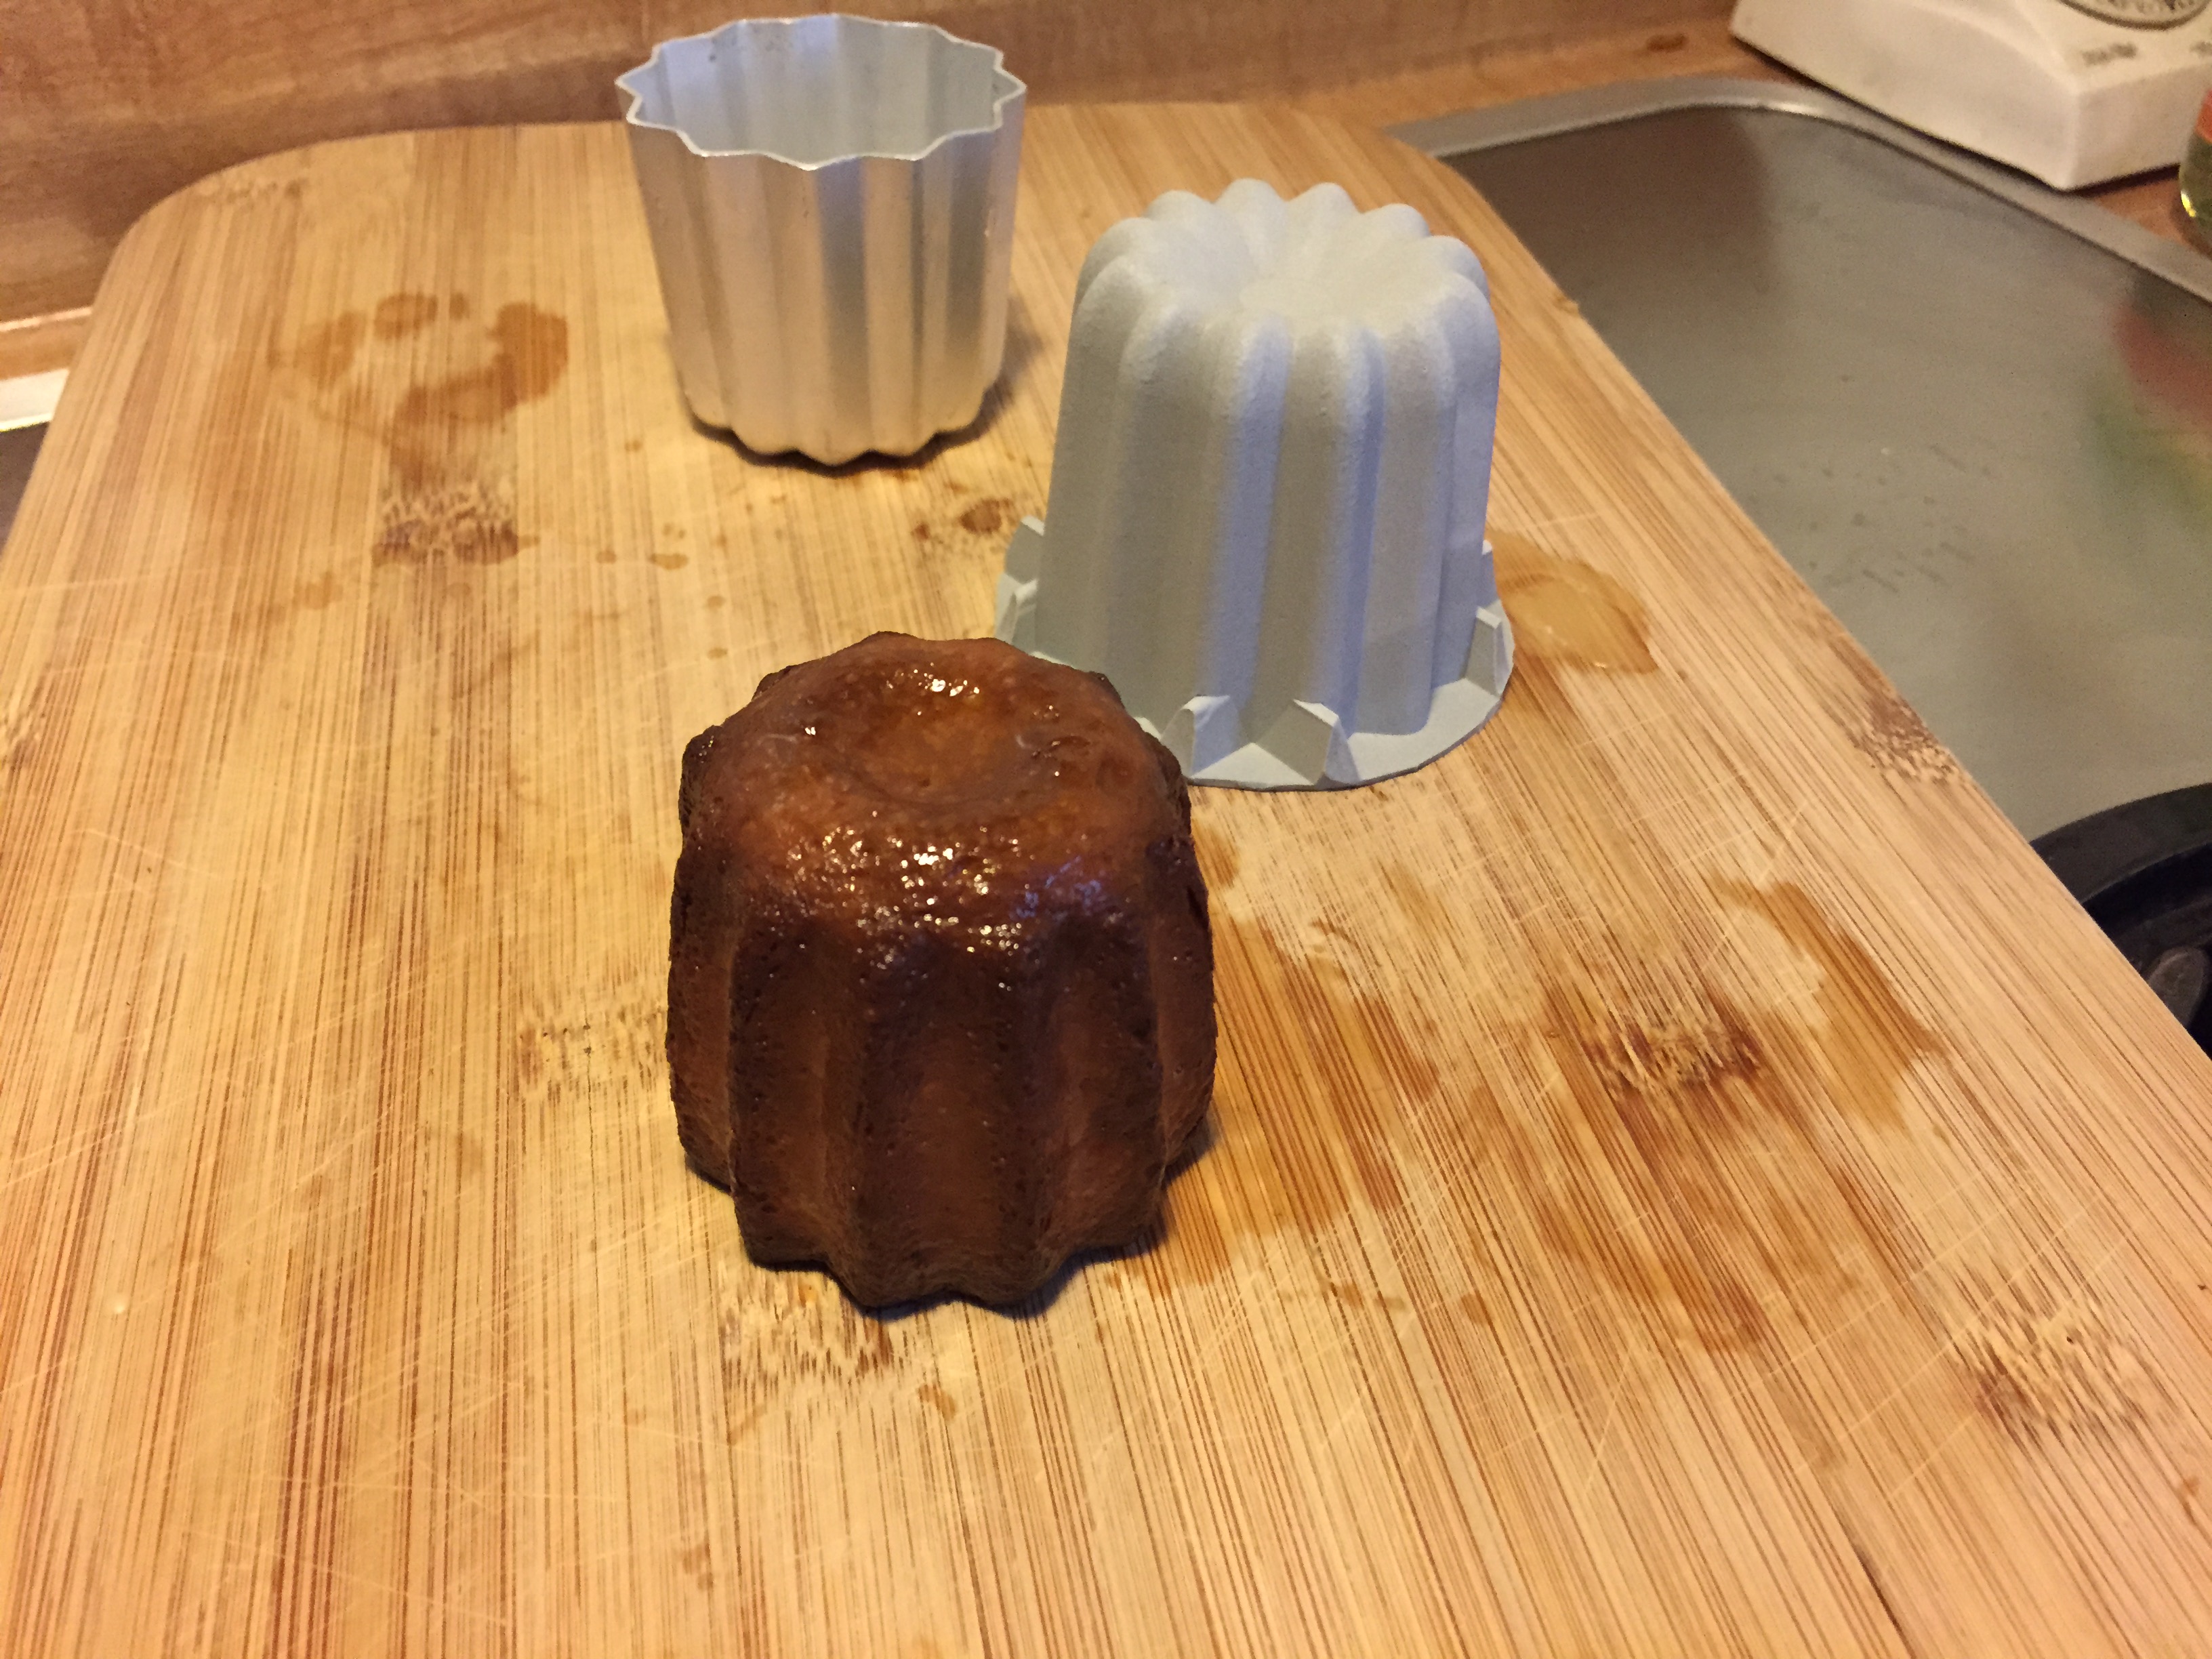
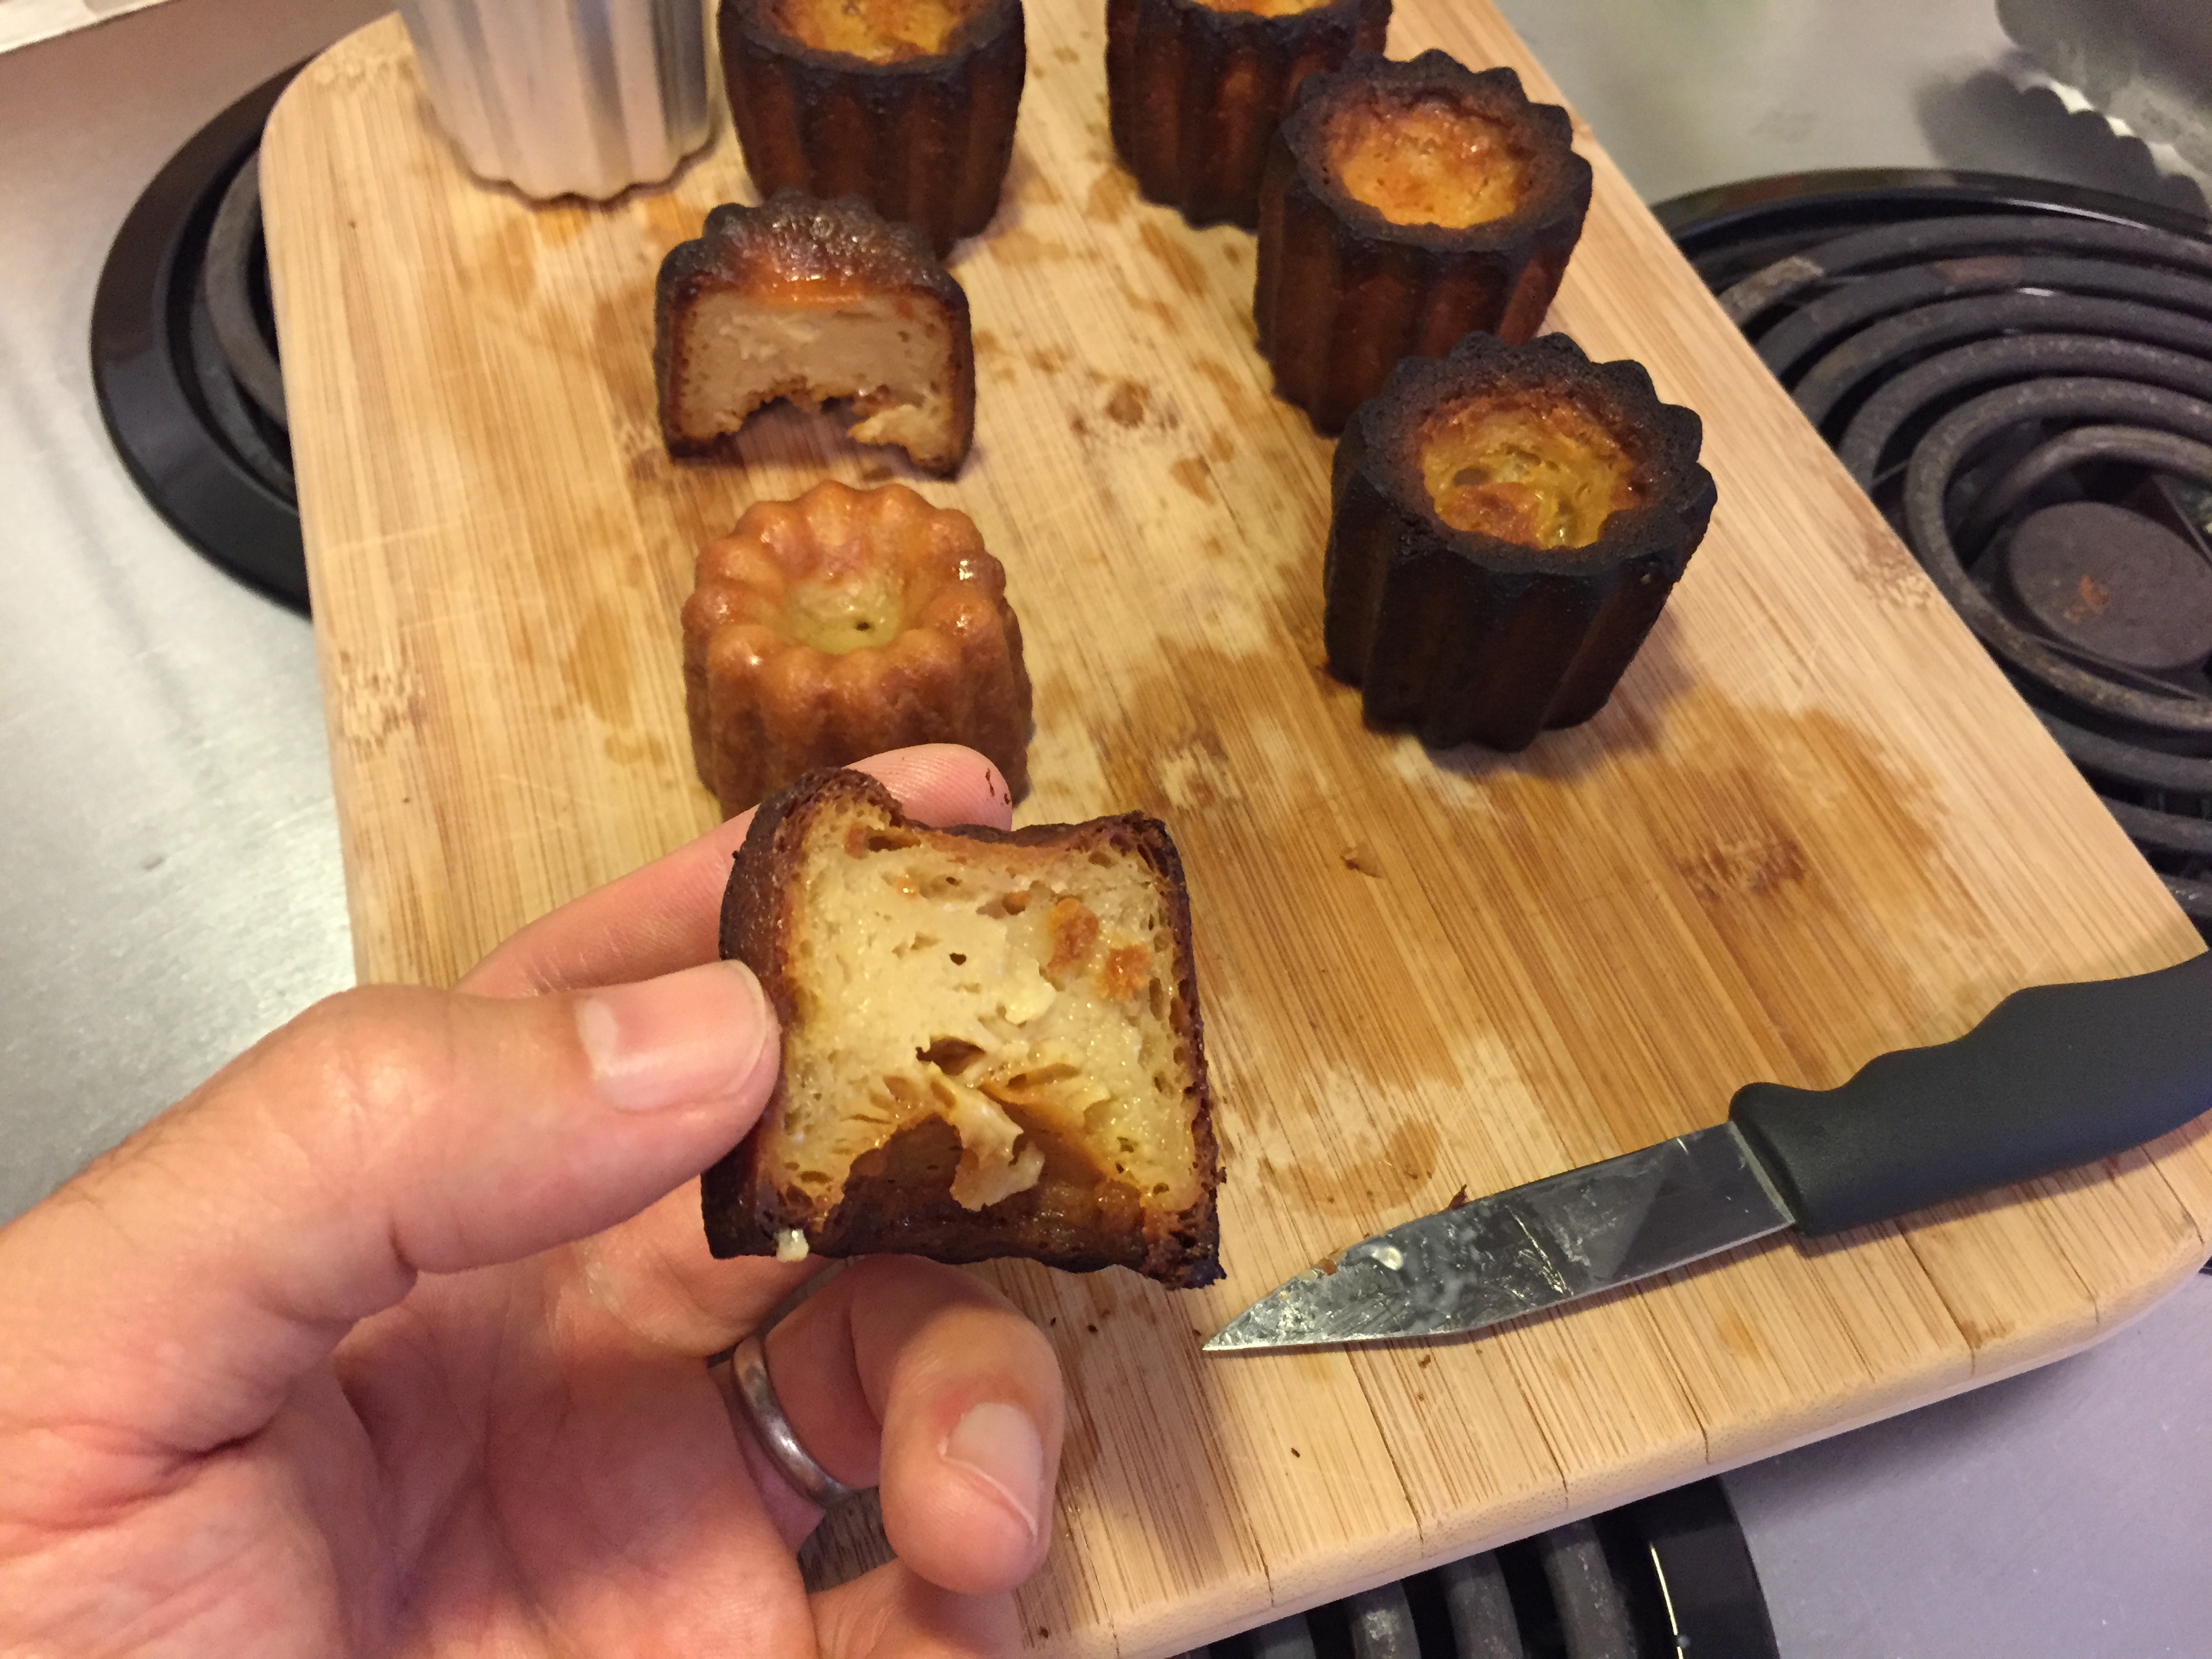
I attempted to bake the remainder more then was recommend to achieve the proper consistency, but they just ended up burning slightly. What I learned is that I don’t want the pastry to come out of the mold at all, when it does it exposes the surface area to the oven heat and will burn. Plus it’s not fun to take them in and out of the oven, it’s dangerous!
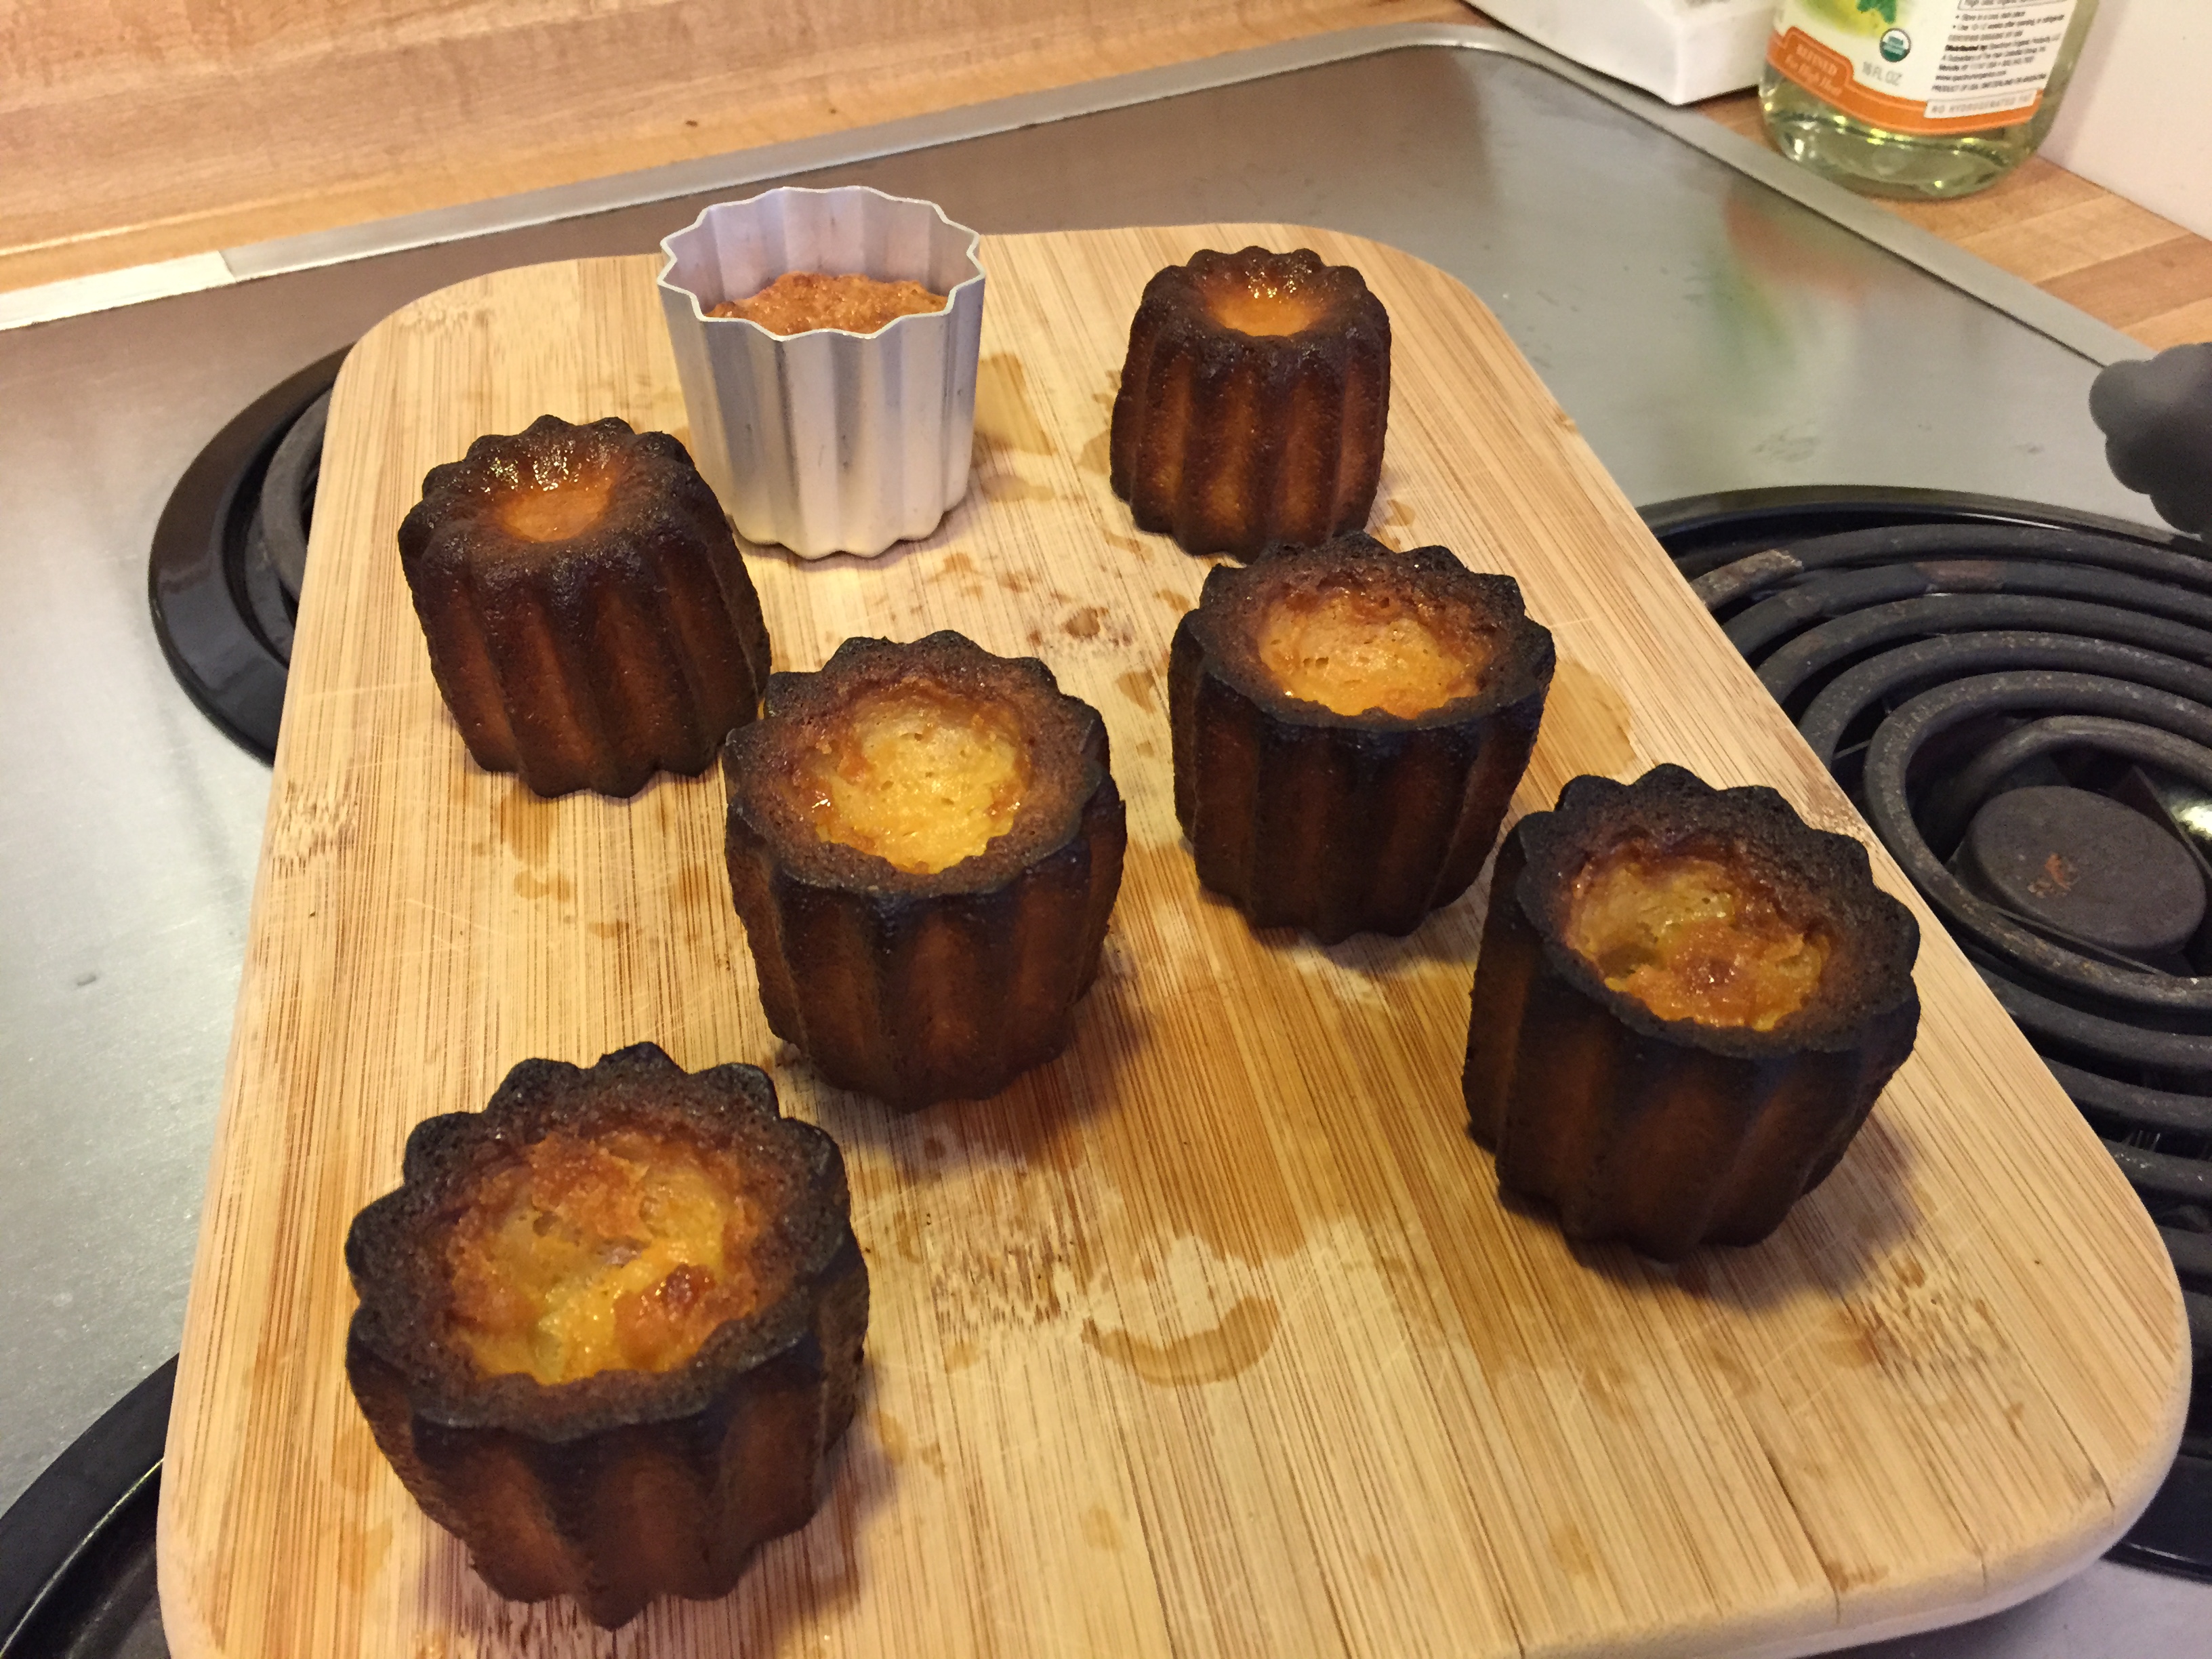
Here are what the top of all six looked like from the silicon molds

Here are what the bottoms looked like
The one in the aluminum never got a crust.
Cross section of the one from the silicon mold
This video shows what they look like baking
Follow my progress
Here is the recipe I’m using
This post is part of a 7 part series on Canele