The quest for Canele – Batch No 3

Third Attempt

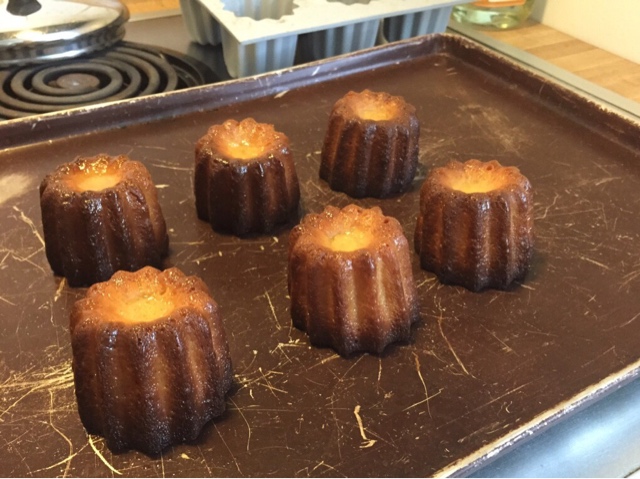
This time I went back to the first recipe. I only used egg yolks reduced the amount of flour and sugar. I notice that when I use just yolks the crust is firmer. It’s like a tough shell with a stark soft custard inside. Using egg whites and yolks together in other batches provided a more uniform transition between the outside and inside. Which I prefer.

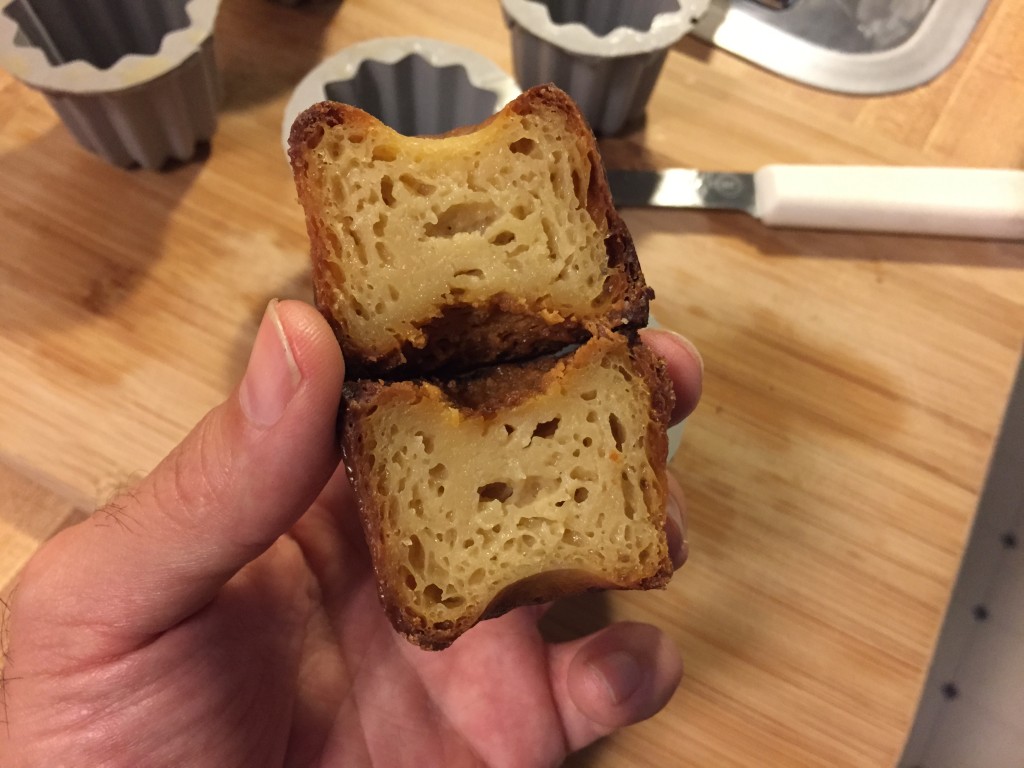
Prep, this amount filled 7 molds 1/2″ from the top of each mold and there was left overattempt2 prep
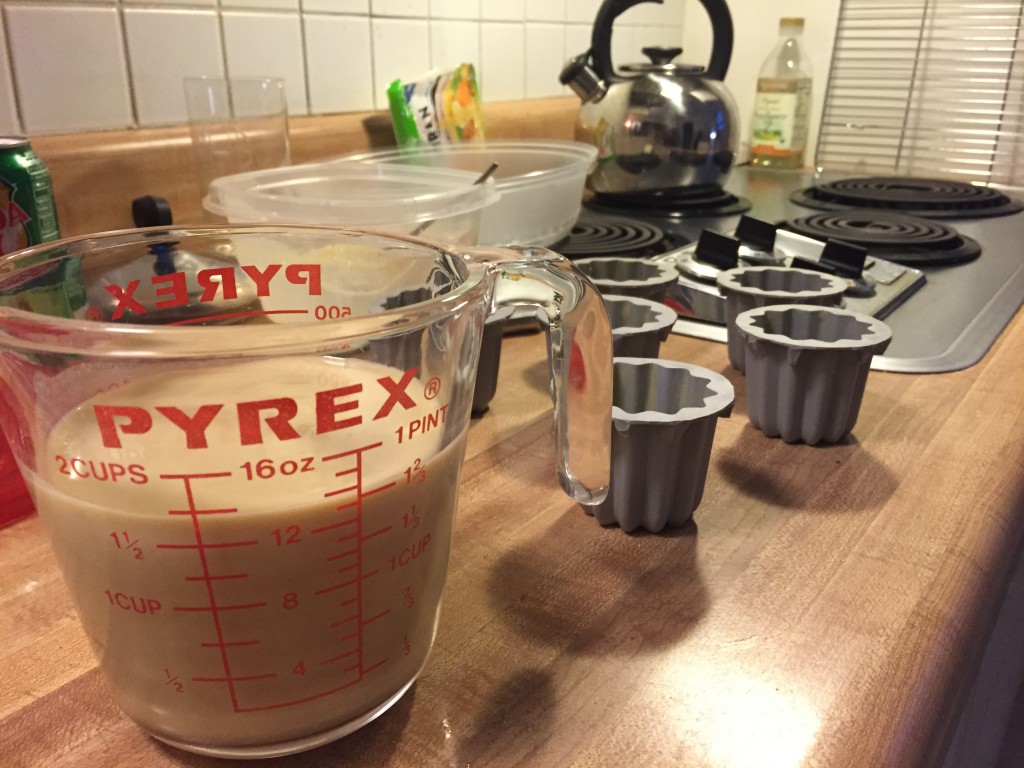
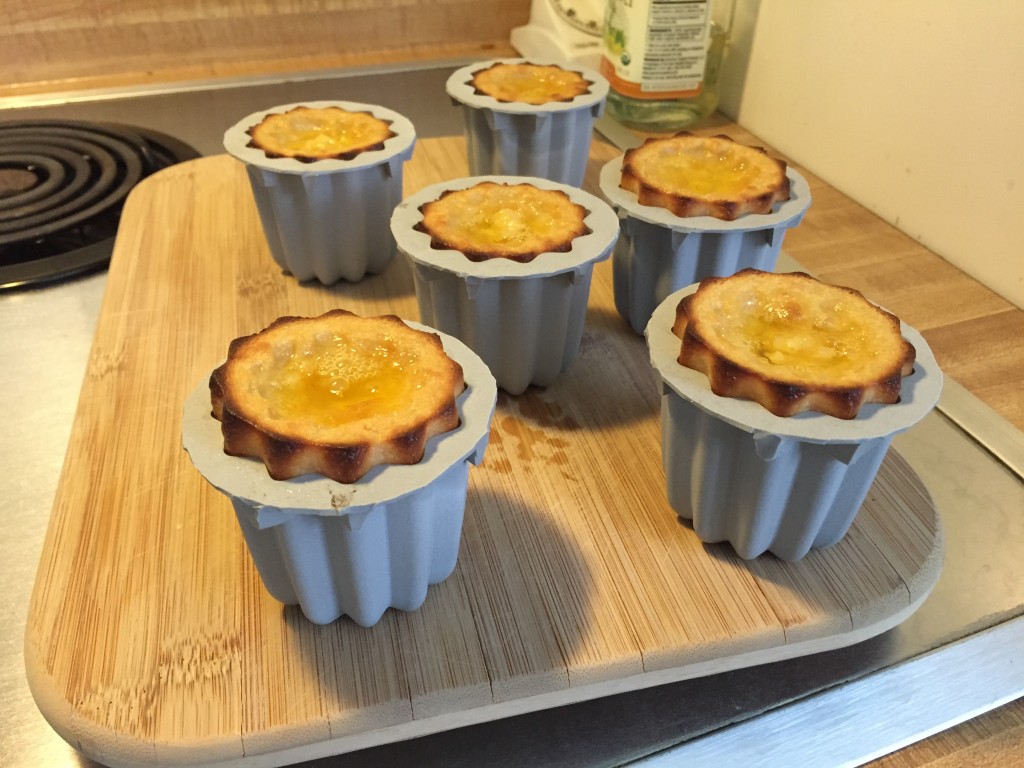
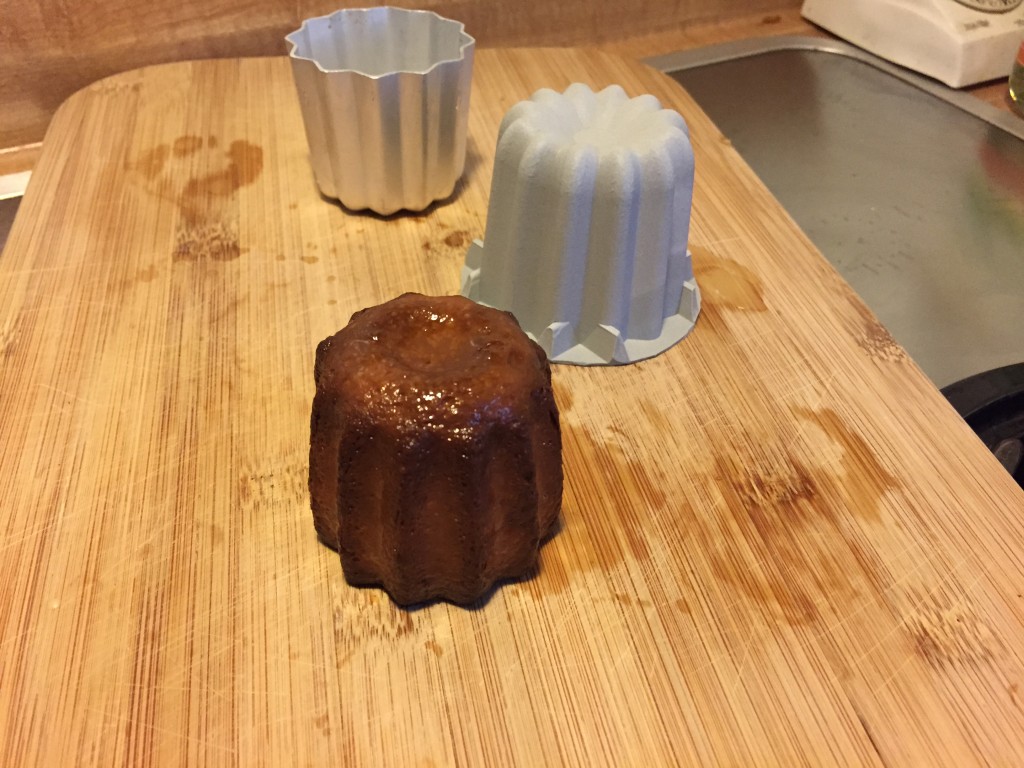
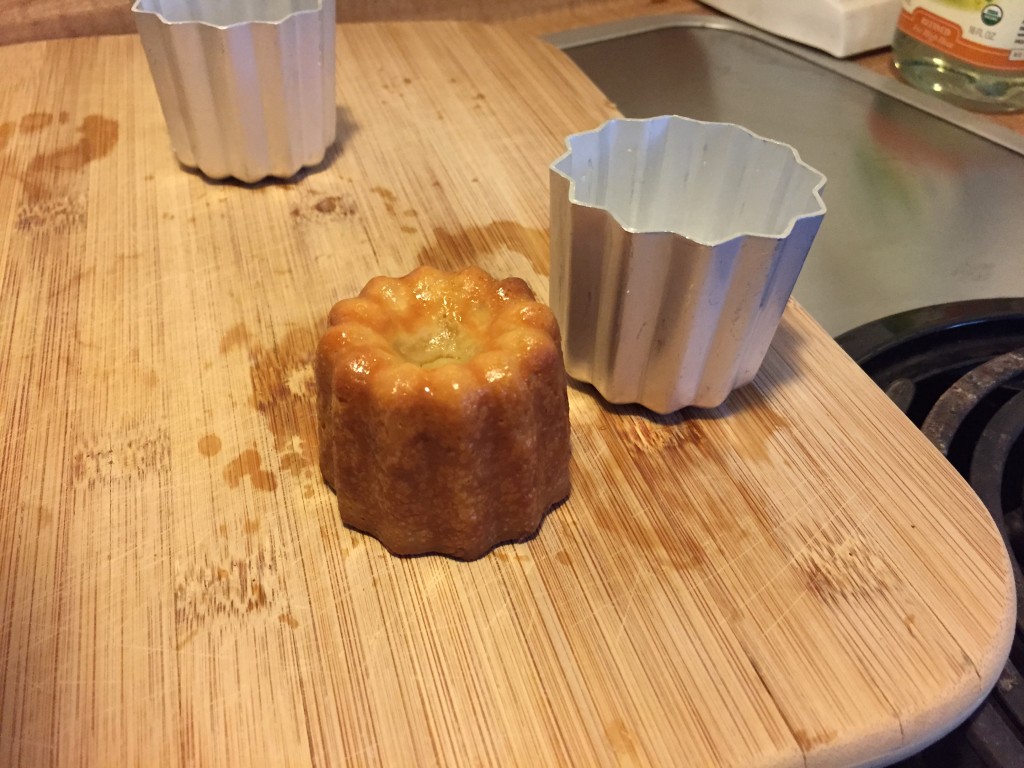
Here is the look of the top and bottom of this batch. The one on the right was filled higher then the others and no beeswax was used in the mold. Notice the bottom is flat.attempt2 bottoms
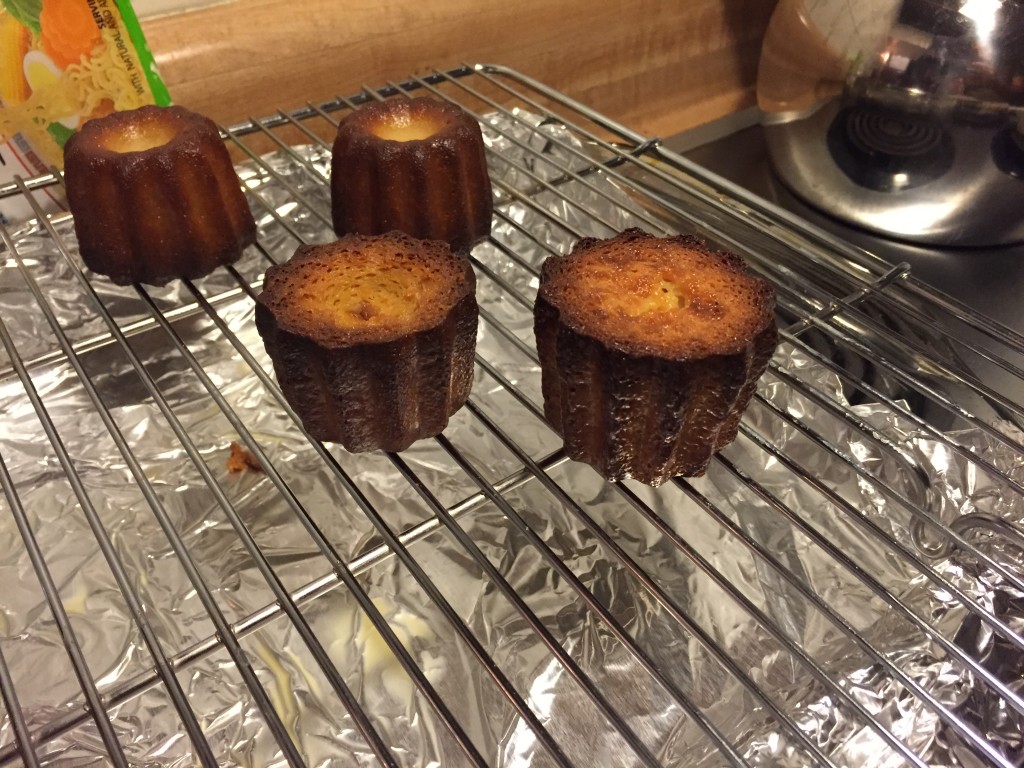
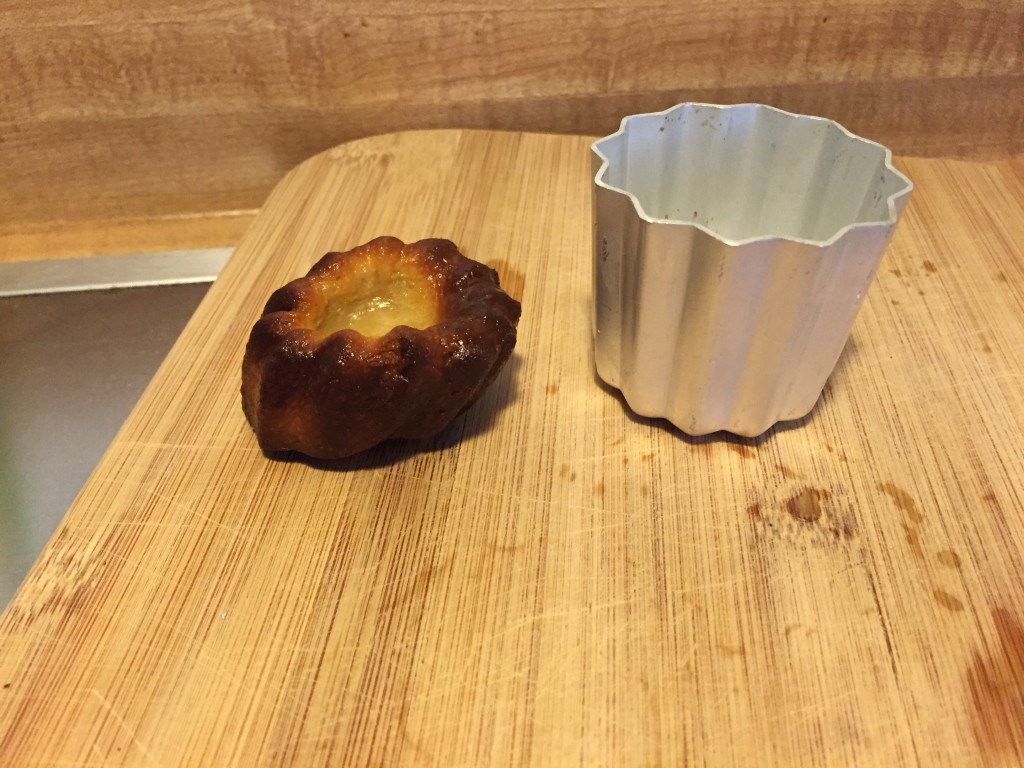
Cut in half inside viewattempt 2 inside

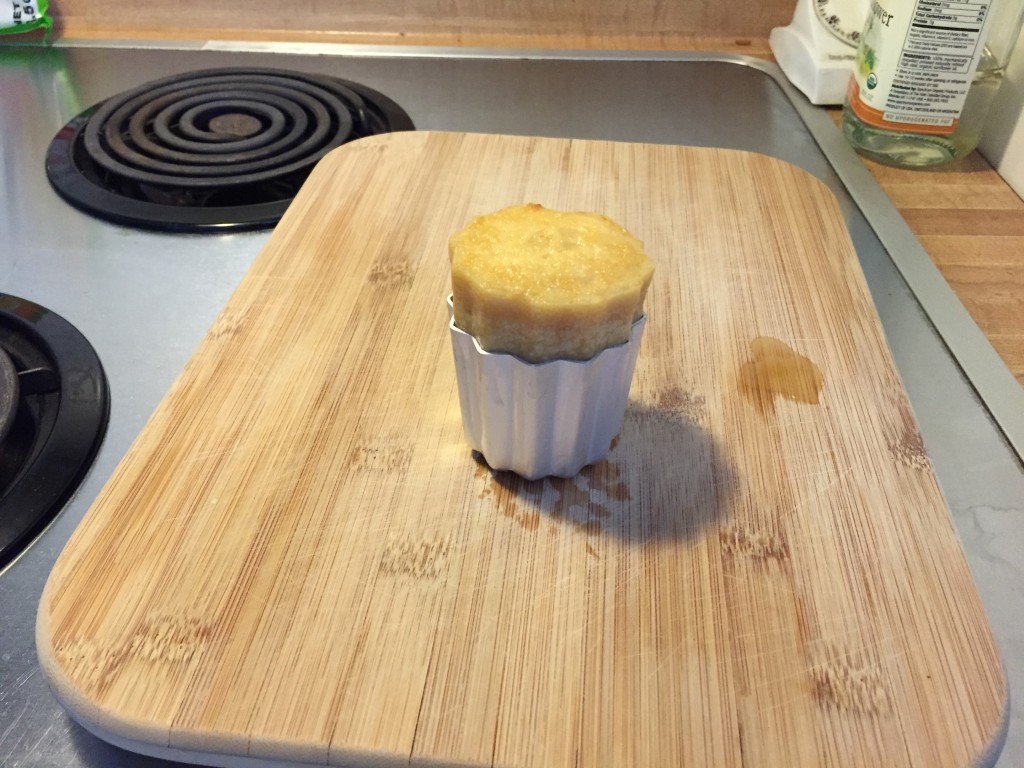
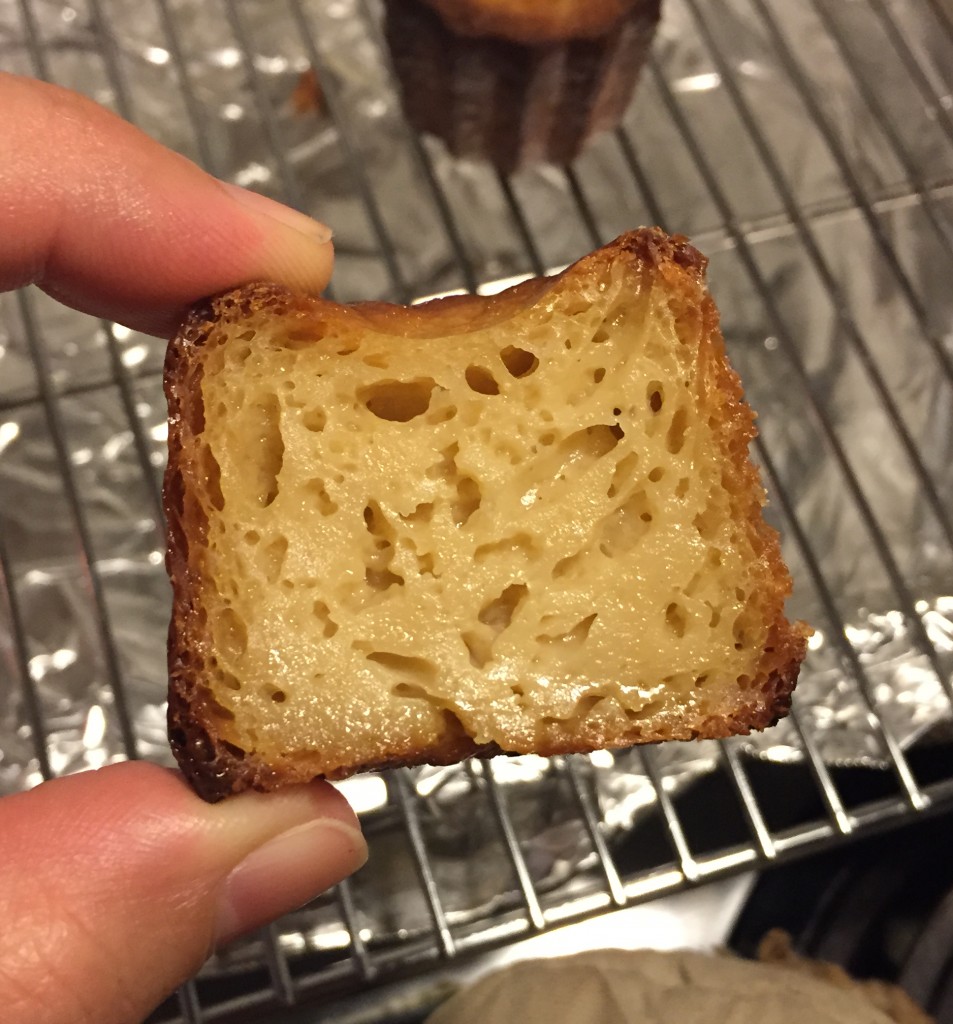
I made one without beeswax. This was interesting. The bottom formed more properly. It was flat, not quite rounded. I think when I use the beeswax it pools in the center and causes it to cave in a bit. Next time I will use a super thin coating of beeswax and may only apply it partially up the walls of the mold. Below is the one without beeswax. It came out wetter you can see the shine.attempt 2 no wax
I took out this video because I was using too much wax and butter in the molds.  I’m explaining in this video the technique I used to coat the inside of the molds with hot beeswax. I kept the other stove burner warm. As I worked the beeswax would firm up in the pan. When it did I placed pan back on the warm burner to soften it again.

Update to the video Even the coating that I demonstrate in this video is too thick. I now brush off as much wax-butter mix from the brush on the side of the pan before brushing in the mold.

http://www.finecooking.com/item/55415/the-science-of-baking-cookies

Notes: making it with no whites made the outer crust firmer. The next day they were spongy and wet. Too much wax makes the bottom concave while baking. Baked inside of glass pyrex this time.

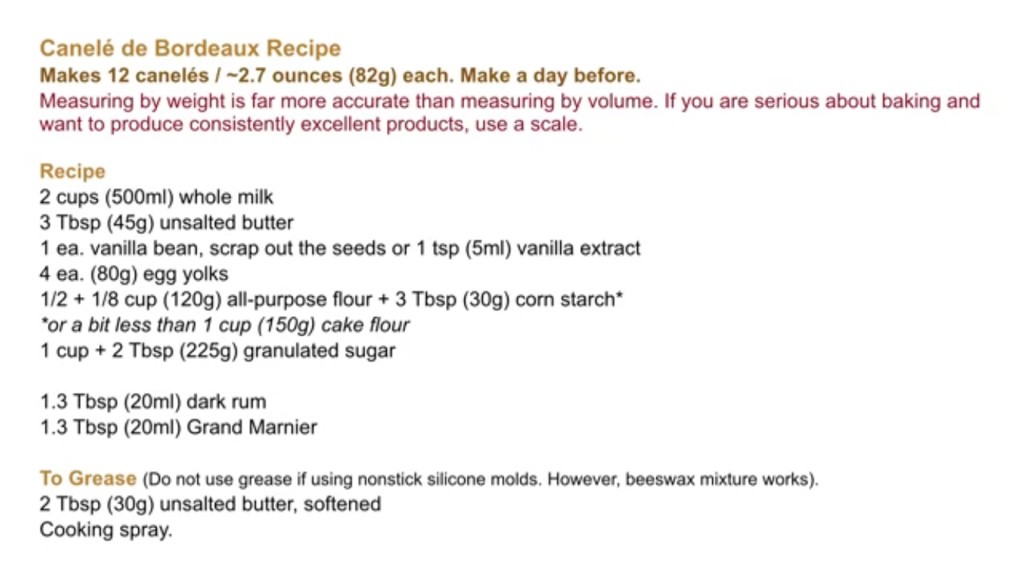
Here is the recipe I’m using

This post is part of a 7 part series on Canele
The quest for Canele – Batch No. 2

Second Attempt

My second attempt was not as successful, I liked the flavor better, but something was off and with so many variations it’s almost impossible to tell where. This is one reason why I made my plea to America’s Test Kitchen for “Help!”.

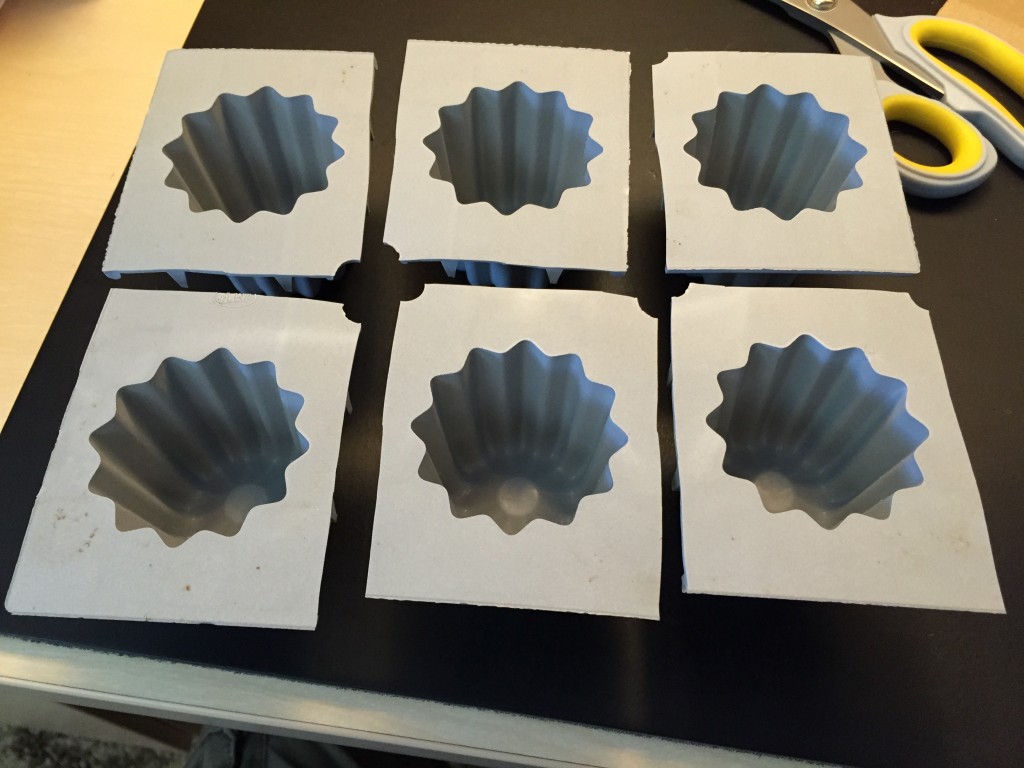
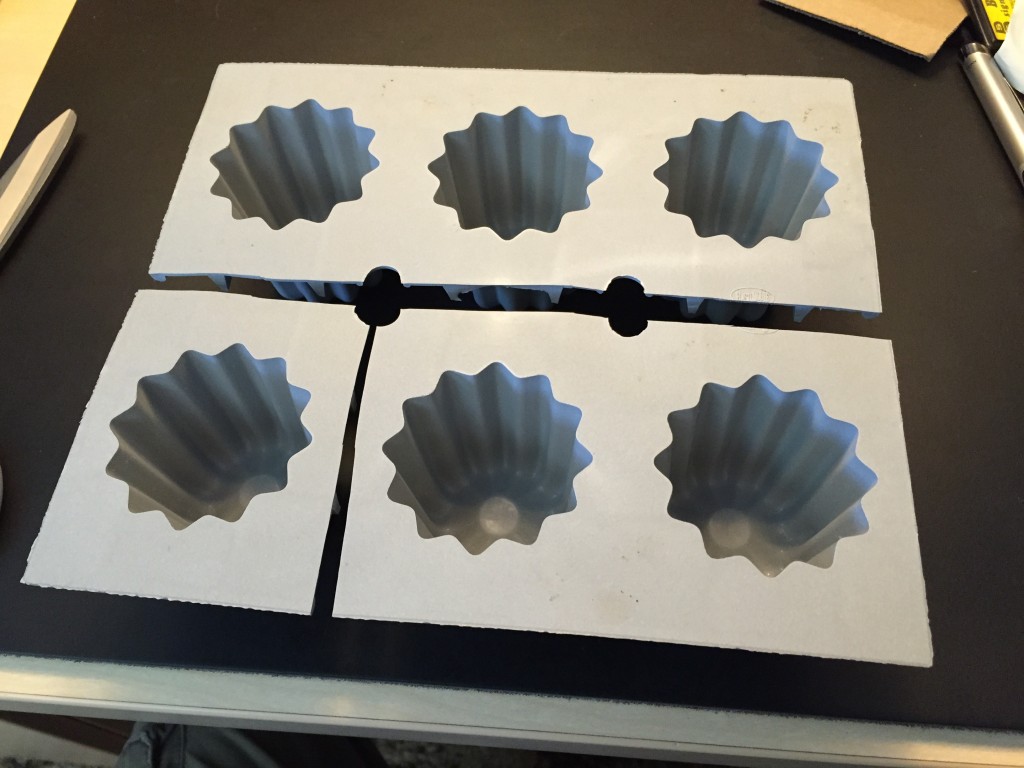
The second time I cut apart the molds. It started as one piece and this is the first cut.
mold1

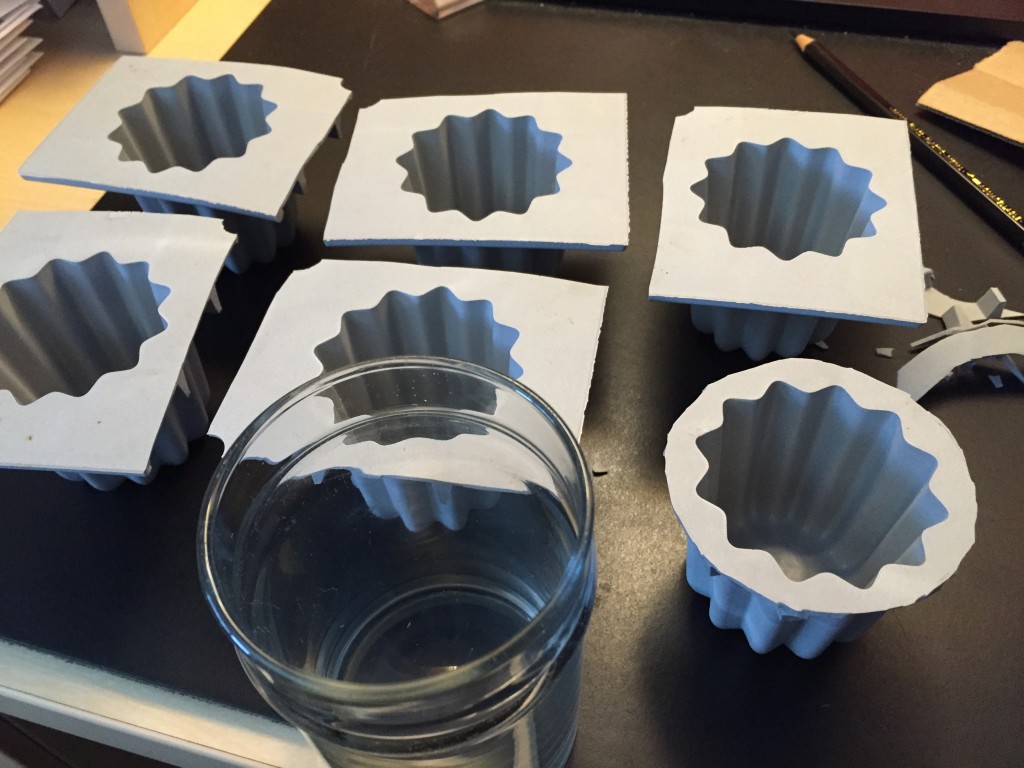
Then into sixmold2

I used a glass as a template and used a permanent fine point sharpie to draw a circle around each mold. Not much sticks to the silicone. I tried wax pencil, pen, and pencil. Only permanent marker worked, and it was easy to rub off when I was done!mold3

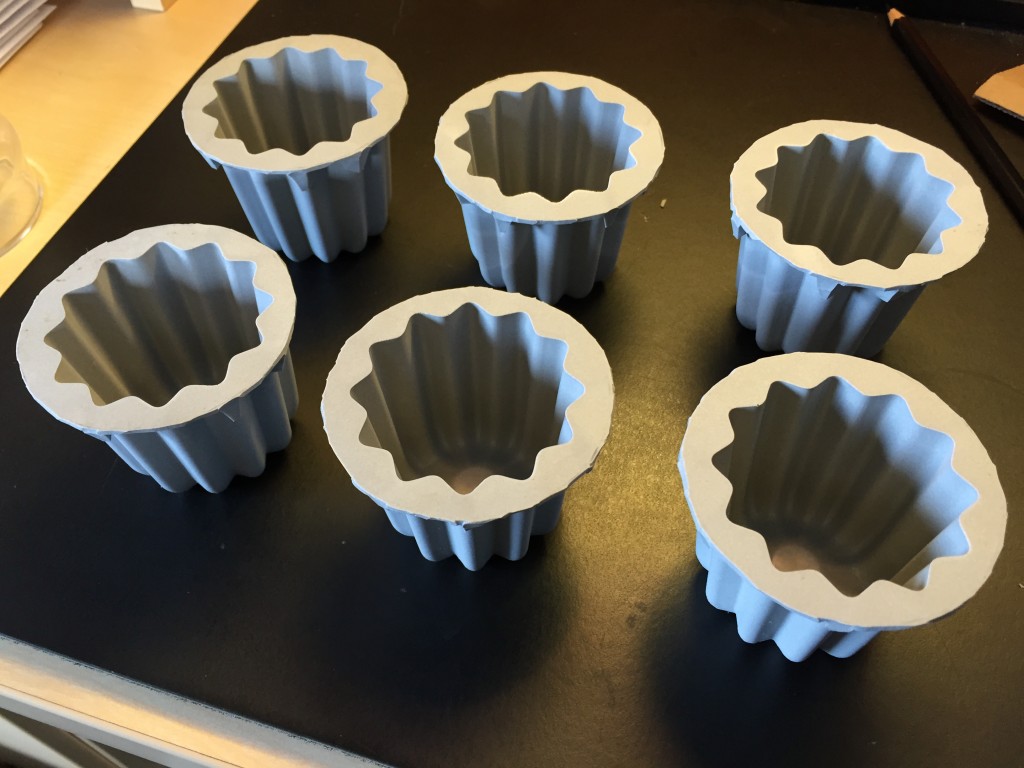
Here is the final productmold4

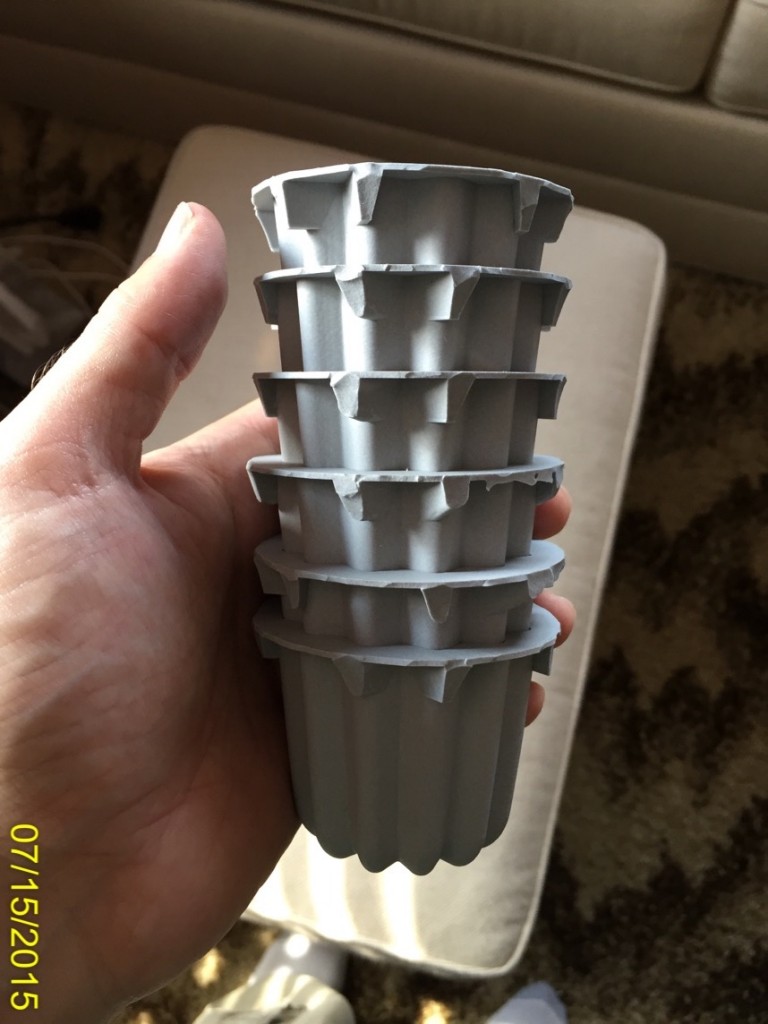
Turns out they stack nicelystacked molds

I find individual molds are much easier to bake with and clean.

This time I tried the recipe from here. I modified it for half, figuring this was easiest and I would have some left over. I also added two aluminum molds. I was curious how they would cook, and it was strikingly different. I didn’t listen to the recommendation in this recipe to let the batter rest 48 hours and instead let it rest only 18 hours. This was the same amount of time of rest from the first batch (which didn’t raise out of the molds). For this recipe it was a mistake. The canele raised out of the molds and it became a game of hot potato pulling each one out of the oven. I had to take them out several times or risk them flopping out of the mold, my biggest fear! I believe this happened because this recipe uses egg white in the batter. Last time I only used egg yolks and didn’t have this problem. I think I over filled the molds this time too. Filling the mold 1/4″ from the top. Next till I will fill them 1/2″ from the top.

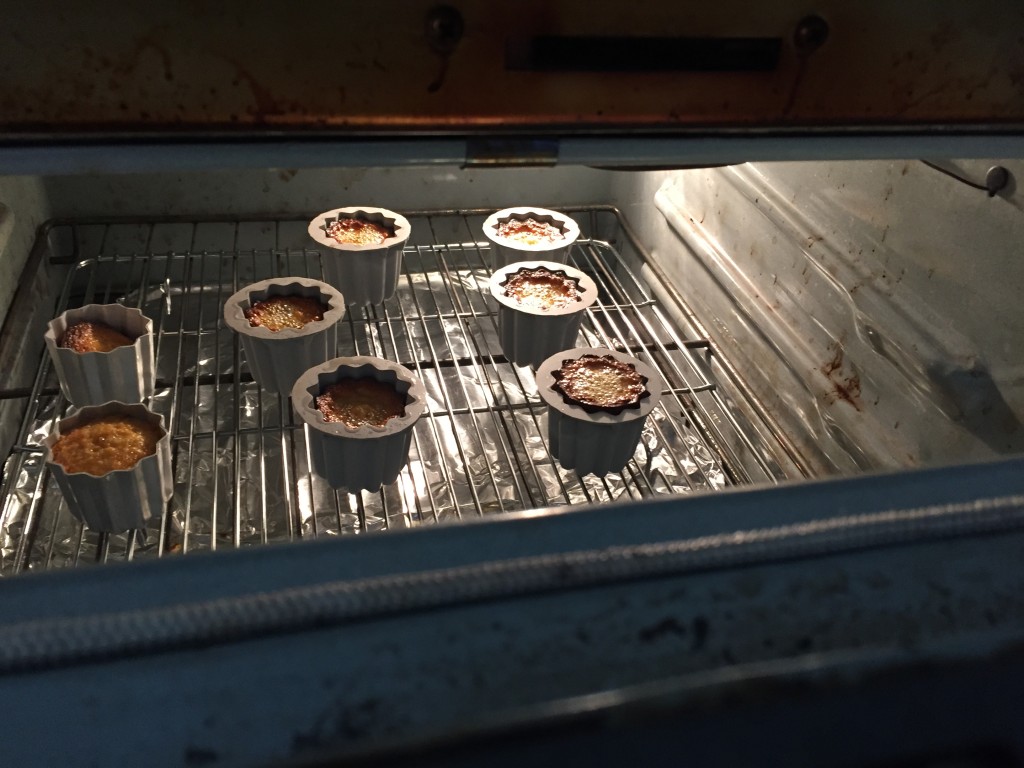
This is what they looked like baking. The two aluminum molds are on the left. You can see on the right, one starting to pop out out. Interestingly enough, the aluminum mold produced the correct rounded top that I was after. The silicone molds bake the canele flat or sunken in. The pooling liquid on the top I think was mostly beeswax.
canele baking attempt no2

Here I have taken them out for a rest in the middle of baking (not what I wanted or planned on). You can see the ones in the back are starting to go back down. The ones in the front were taken out later and were still up over the mold
canele popping out

For some reason the canele popped out of the aluminum molds much more then the copper, but they never developed the caramelized outer skin.
canele aluminum popping out

This is interesting, This was the best one. I ran out of batter on this batch and only filled this one halfway full. half full aluminum

Below is my first one out of the silicon, good color but the bottom was convex and the inside was more of a solid custard then the lighter airy custard I wanted.Second attmept first one out

I attempted to bake the remainder more then was recommend to achieve the proper consistency, but they just ended up burning slightly. What I learned is that I don’t want the pastry to come out of the mold at all, when it does it exposes the surface area to the oven heat and will burn. Plus it’s not fun to take them in and out of the oven, it’s dangerous!

Here are what the top of all six looked like from the silicon molds
Canele all six silicone tops

Here are what the bottoms looked like
Canele all six silicone bottoms

The one in the aluminum never got a crust.
aluminum no crust

Cross section of the one from the silicon mold
cross section silicone

This video shows what they look like baking

Follow my progress

Here is the recipe I’m using

This post is part of a 7 part series on Canele
The quest for Canele

Not too long ago I tried Canele for the first time. I was in DC with my wife at the Little Red Fox. Inside the glass counter were these tiny interesting looking cakes that seemed burnt to me. I turned to my wife, “honey they are burnt!” They are supposed to be that way she said. I wanted to try one but they were $3 each! I passed that day, but came back another time my wife encouraged me to get one. I did, I don’t know if that was a bad thing or good thing now. I loved them, and have been on a quest to try and make a Canele at home. I didn’t realize at the time I was embarking on a rather complex endeavor. Canele are not easy to make, (not easy to make correctly) A good Canele will have a caramelized sugar crust, not too thick but not too thin. Inside they are cakey/custardy. Some of the interesting ingredients include Rum, and I have seen Grand Mariner.

There is no shortage of recipes for Canele. I can tell now from the photos if it’s a good recipe or not. One thing all recipes have in common is a resting period for the batter. Surprisingly, but commonly the batter is very liquidy, like crepe batter. However, the resting period varies from a few hours to 48 hours. Time and temperature also vary wildly. Some say bake at a constant temperature for a set period of time and some start off at a high temperature and lower after a period of time. The ingredients are fairly straight forward, flour, butter, sugar, vanilla egg, rum, beeswax (more on this below) and sometimes (salt, cornstarch, Grand Mariner, white oil)  Each recipe requires different amounts of each ingredient. Combining the ingredients varies too, some use egg whites and yolks some just yolks. Some require tempering the eggs, some don’t. Most it seems, require scalding milk. Which I’ve learned means heating milk to just before boiling about 183 degrees, and some say between 180-185 degrees.

Baking molds vary too. There you can choose from Copper (very expensive), Aluminum, and then silicone. There are a great number of silicone molds on the market, but the DeBeyers seem to be the favorite in silicone and this is what I chose. Each recipe makes different amounts, some make 10, some make 20 and others make 6. These recipes have to be modified based on the number of molds you have. I did a good deal of math even texting my wife to ask what a fraction of this or that would be. As a side note I wish the US would convert to the metric system, the American system of measuring is just absurd.

Beeswax, most recipes call for this. Not all, but often it’s recommend, and I agree that it adds to the flavor texture and even alters the dynamics of baking. Finding food grade beeswax was not easy. I found on Amazon most people who bought the molds also purchased cosmetic grade beeswax. I didn’t want to do this. I believe there is a distinction. Food grade beeswax should smell sweet like honey. Cosmetic grade beeswax does not. I found some at the local food Co-op, and it smells amazing. They were made in ice cube molds.

How to begin? I chose two recipes like I normally do and take what I like from each. Here is what my first attempt looks like.
canele attempt no1

Not too bad for a first try, but the color should be darker, and the inside was more of a solid custardy consistency instead of a more open custard’ey texture and the crust was too thick and hard. In the background you can see the mold, back when it was still in one piece. I ended up cutting the mold apart. When It was in one piece it was floppy and hard to manage for cooking and cleaning. I worked up the nerve and with a pair of scissors cut it into individual pieces. I had seen someone else do this online and I took it one step further but rounding out my cuts. I’m glad I did too, they are much easier to work with and to clean.

This is the first recipe I tried.
canele recipe no1

It was from and online cook but the name of Bruno (The Real Deal). I used the baking times and temperatures from this recipe. I didn’t add the Grand Mariner, and I used salted butter. That’s all I had at the time. I also realize now I used 8 year old AP flour.

Here is the recipe I’m using

This post is part of a 7 part series on Canele